Garden Retaining Wall: Top Tips for 2024 Success

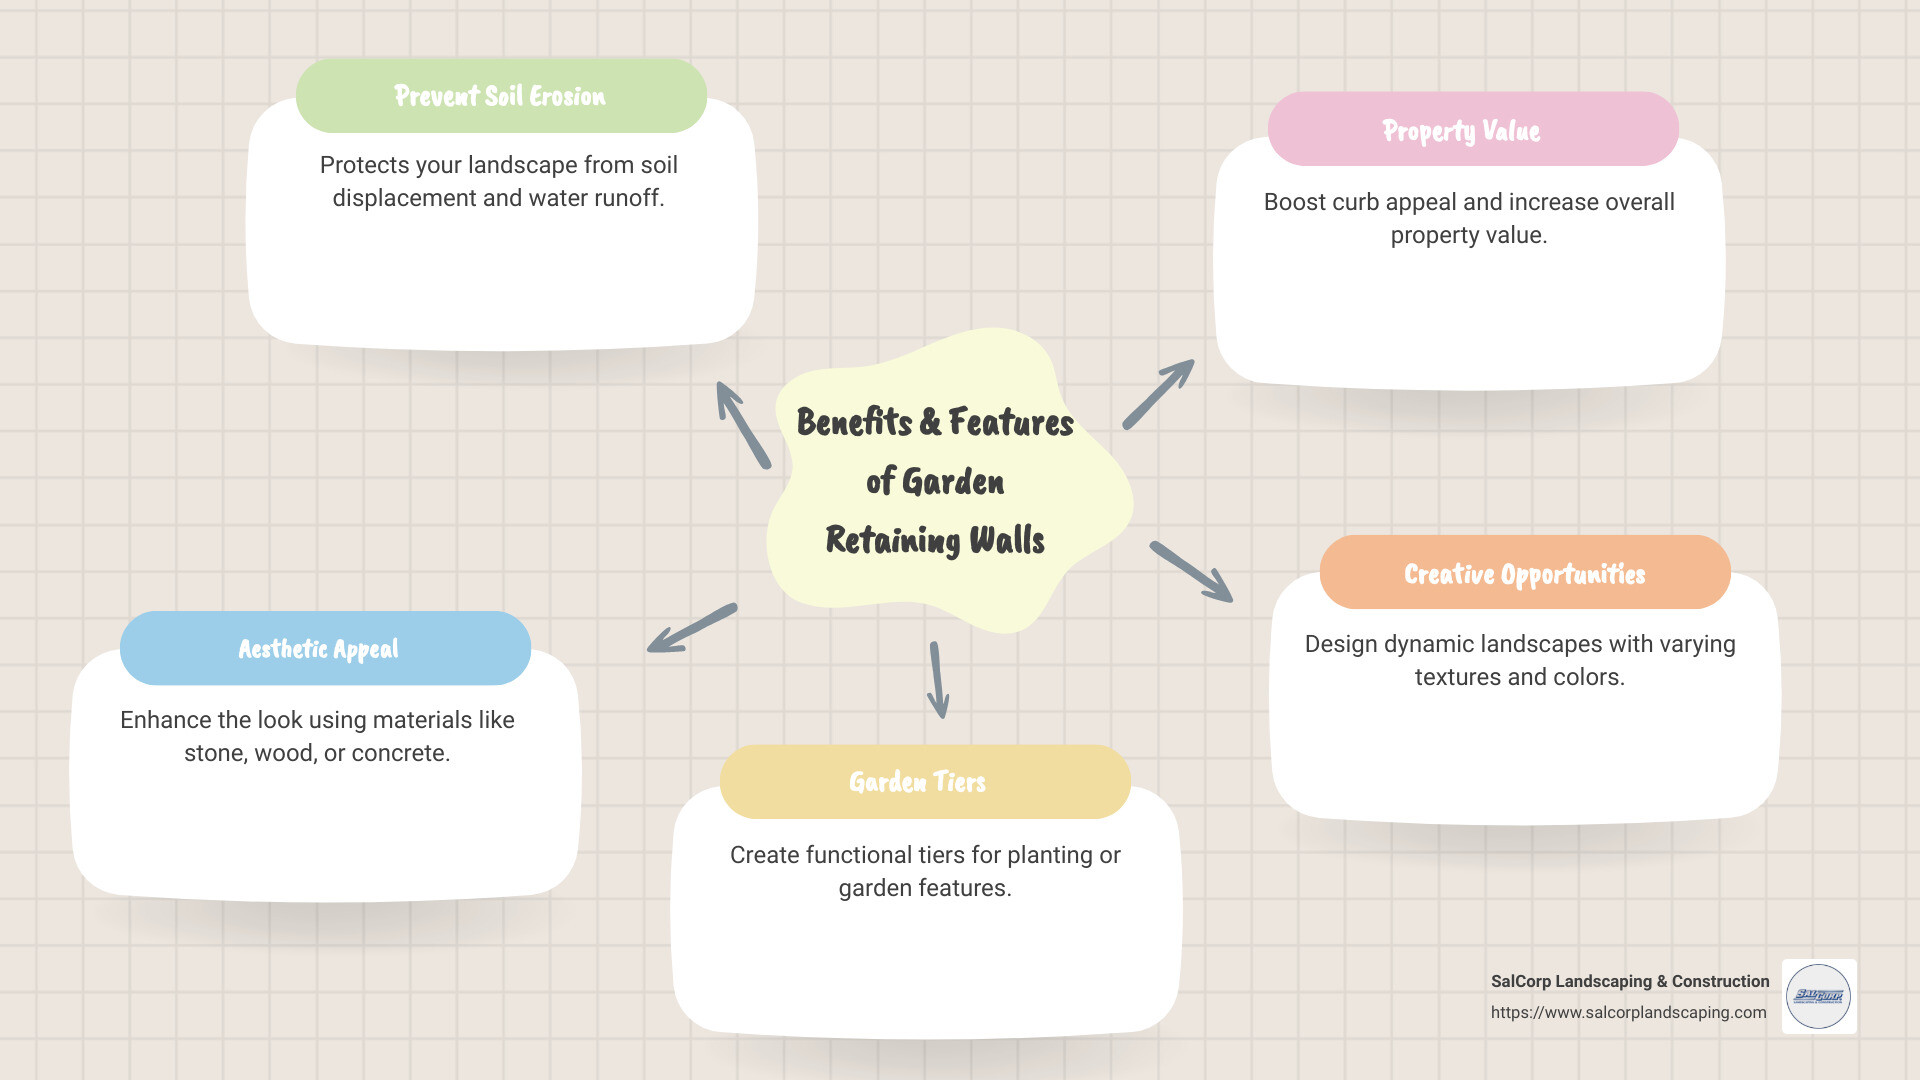
A garden retaining wall is more than just a functional barrier holding back soil. It transforms your landscape into a multi-dimensional masterpiece, offering both beauty and practicality. Here’s a quick overview of the benefits and features of garden retaining walls:
- Prevent soil erosion
- Improve aesthetic appeal with various materials like natural stone, wood, or concrete
- Create usable garden tiers or liftd plant beds
- Increase property value by improving curb appeal and usability
Garden retaining walls offer a platform for creativity and can transform slopes into spectacular garden tiers or verdant backdrops. Using materials such as concrete, stones, or wood, these structures can enrich your landscape with textures and colors that blend seamlessly with your outdoor ambiance. Retaining walls don’t just anchor your soil; they can lift your property’s aesthetic appeal, providing structure and creating opportunities for lush plantings and vibrant outdoor features.
As Sal Musto, I bring over two decades of expertise in crafting functional and beautiful outdoor spaces with garden retaining walls at the forefront of projects. At SalCorp Landscaping & Construction, we specialize in comprehensive solutions, focusing on quality and customer satisfaction to transform your garden into a stunning extension of your home.
Easy garden retaining wall glossary:
– how much does a retaining wall cost
– retaining wall ideas for sloped backyard
– what is a retaining wall
Planning Your Garden Retaining Wall
Building a garden retaining wall requires careful planning to ensure functionality and beauty. Here’s how to get started:
Choosing the Right Materials
When selecting materials, consider both aesthetics and function. Each material has unique benefits:
- Wood: Cost-effective and easy to work with. However, it may have a shorter lifespan. Use pressure-treated wood to extend its durability.
- Bricks: Offer a classic look and are durable. They can be more expensive than wood but provide a timeless appeal.
- Natural Stones: Beautiful and long-lasting. They blend well with natural landscapes but can be pricey.
- Concrete Blocks: Versatile and durable. They’re great for DIY projects, especially when using interlocking blocks for easy assembly.
Interlocking blocks are particularly popular for garden retaining walls because they fit together easily, providing extra stability.
Estimating Materials and Costs
Accurate measurements are crucial for estimating materials and costs:
- Measurements: Determine the total length and height of your wall. Use these figures to calculate how many blocks or materials you’ll need.
- Block Calculator: Many suppliers offer online calculators to help estimate the number of blocks required based on your wall dimensions.
- Purchase Extra: Always buy about 10% more materials than your estimate. This accounts for breakage and future repairs.
- Cost Comparison: Compare prices of different materials. While wood might be cheaper upfront, stone or concrete may offer better value over time due to their longevity.
Layout and Building Codes
Before starting construction, consider the layout and any legal requirements:
- Layout: Use stakes and string to outline your wall’s location. For curved designs, a rope or hose can help visualize the shape.
- Building Codes: Check local building codes and HOA restrictions. Some areas require permits, especially for walls over a certain height.
Drainage
Proper drainage is vital to prevent water buildup behind your wall, which can cause pressure and damage:
- Drain Pipe: Install a perforated drain pipe behind the wall to channel water away.
- Gravel Backfill: Use well-draining gravel behind the wall to facilitate water movement.
- Landscape Fabric: Place fabric between the soil and gravel to prevent soil from clogging the drainage system.
By considering these factors, you can plan a garden retaining wall that not only supports your garden but also improves its beauty. This planning phase ensures the wall will be a lasting and attractive feature in your landscape.
How to Build a Garden Retaining Wall
Building a garden retaining wall is a rewarding DIY project that can transform your outdoor space. Follow this simple guide to ensure your wall is both sturdy and beautiful.
Preparing the Site
Step 1: Marking the Area
Begin by using stakes and string to outline the location of your wall. For curved walls, use spray paint to mark the shape. Make sure to call 811 before digging to check for underground utilities.
Step 2: Digging the Trench
Dig a trench along the marked line. The trench should be twice as wide as your blocks and deep enough to bury half the height of the first course plus 3 inches for the paver base. This usually means 4 to 8 inches deep, depending on block size.
Step 3: Leveling the Ground
Use a hand tamper to compact the soil at the bottom of the trench. Then, pour in the paver base and compact it again. Use a level to ensure the base is even throughout.
Laying the Foundation
Step 4: Gravel Base
Pour a 3-inch layer of gravel into the trench. Compact it firmly to provide a stable foundation for your wall. Check for level using a 4 or 6-foot level.
Step 5: Ensuring Level
Double-check the level of the gravel base. This step is crucial for the stability of your wall. Adjust as needed to achieve a perfectly level base.
Building the Wall
Step 6: First Course of Blocks
Start at the lowest point of the trench and lay the first block. Use a rubber mallet to tap it into place, ensuring it’s level. Continue laying the first course, checking each block for level.
Step 7: Leveling Blocks
Adjust blocks by adding or removing gravel beneath them. A torpedo level can help ensure each block is level front to back.
Step 8: Cutting End Blocks
For staggered courses, cut the end blocks of each even-numbered course in half. Use a hammer and masonry chisel, or rent a wet masonry saw for a cleaner cut.
Step 9: Additional Courses
Lay additional courses, staggering the blocks for stability. Brush off debris between courses to ensure a clean fit.
Installing Drainage
Step 10: Drain Pipe
If your area experiences heavy rain, install a perforated drain pipe behind the wall. Cover it with a drain sleeve to prevent clogging.
Step 11: Gravel Backfill
Backfill behind the wall with gravel to facilitate drainage. Use landscape fabric between the soil and gravel to prevent soil from clogging the drainage system.
Finishing Touches
Step 12: Capstones
Finish the wall with capstones for a polished look. Use construction adhesive to secure them, ensuring they overhang the retaining blocks by 1 to 1.5 inches.
Step 13: Topsoil and Sod
Fill the space behind the wall with topsoil, leaving room for sod or plants. Consider adding decorative elements like climbing plants or succulents to improve the wall’s appearance.
Building a garden retaining wall can be a satisfying project that adds both function and beauty to your landscape. By following these steps, you’ll create a wall that stands the test of time and enriches your outdoor space.
Beautifying Your Garden Retaining Wall
Once your garden retaining wall is built, it’s time to transform it into a stunning feature of your landscape. Here’s how to add beauty and functionality to your wall with thoughtful design and plantings.
Raised Planting Beds
Lift Your Garden with Layers
Raised planting beds are a fantastic way to add dimension and interest to your retaining wall. By integrating flower beds or vegetable gardens, you create a vibrant and functional space. Imagine colorful blooms cascading over the edge or fresh herbs ready for your kitchen.
- Flower Beds: Use a variety of plants for a burst of color. Consider drooping flowers like moss phlox or creeping thyme for a cascading effect.
- Vegetable Gardens: Plant your favorite veggies in the raised beds. Easy access and good drainage make them ideal for growing healthy produce.
- Multilevel Plantings: Stagger plant heights to create visual interest. Taller plants at the back and shorter ones in front create a lush, layered look.
Integrating with Other Features
Create Harmony in Your Landscape
A retaining wall can seamlessly integrate with other features in your yard. Think about how it can improve patios, driveways, and walkways, or even incorporate water features for a tranquil touch.
- Patios: Use the wall as a backdrop for your patio furniture. It can also serve as additional seating when topped with capstones.
- Driveways and Walkways: Flank your driveway with a retaining wall to create a formal entryway. Use it to guide walkways and define spaces within your garden.
- Water Features: Incorporate a small waterfall or pond. The sound of running water adds a calming element and attracts wildlife.
Creative Design Ideas
Release Your Imagination
Your retaining wall can be more than just a barrier. With a bit of creativity, it can become a centerpiece of your outdoor space.
- Stair-Stepped Walls: These add levels to your garden, making it more dynamic. Use the steps to create small garden nooks or display potted plants.
- Nooks for Dining: Design a cozy dining area by incorporating a nook into the wall. Add a table and chairs for a perfect outdoor meal spot.
- Fire Pits and Benches: Build a fire pit into the wall for warmth and ambiance. Include built-in benches for a practical seating solution.
By adding these elements, you can transform your garden retaining wall into a beautiful and functional part of your landscape. Whether you choose to fill it with vibrant plantings or integrate it with other garden features, your wall will be a standout feature that improves your outdoor space.
Frequently Asked Questions about Garden Retaining Walls
What is the cheapest retaining wall to build?
When it comes to cost-effective options for building a garden retaining wall, materials play a crucial role. Poured concrete is often hailed as one of the most affordable choices due to its durability and longevity. This material requires less maintenance over time, making it a budget-friendly option in the long run.
Interlocking blocks are another inexpensive choice. They are easy to install, which can save on labor costs, especially if you opt for a DIY approach. These blocks fit together like puzzle pieces, providing stability without the need for mortar.
Pressure-treated pine offers a low-cost solution with a natural look. However, keep in mind that wood may not last as long as stone or concrete, requiring more frequent replacements.
Finally, stone can be a cost-effective option if sourced locally. It provides a natural aesthetic and can often be found at a lower price if you use native materials.
How deep should a garden retaining wall be?
The depth of your retaining wall’s footing depends on several factors, including the wall height, soil type, and local building codes. Generally, the footing should be about 4 to 6 inches deep and twice as wide as the block or stone being used.
- Wall Height: For walls over 3 feet, deeper footings are necessary to ensure stability.
- Soil Type: Clay soils, which hold water, may require deeper footings to prevent shifting. Sandy soils, which drain well, might allow for shallower footings.
- Local Codes: Always check local regulations, as they may dictate minimum footing depth for safety and structural integrity.
What is the difference between a retaining wall and a garden wall?
While both retaining walls and garden walls add structure to your landscape, they serve different purposes and have distinct characteristics.
Retaining Walls are engineered to hold back soil and prevent erosion. They require careful planning and may need civic approvals, especially if they exceed certain heights. These walls must be built with materials and techniques that can withstand the pressure of the soil behind them.
Garden Walls, on the other hand, are primarily decorative and are used to define spaces within a garden. They are typically lower in height and do not need to support significant weight. As a result, they often do not require the same level of engineering or permits.
Understanding these differences is crucial when planning your project to ensure that your wall meets both functional and aesthetic needs.
Conclusion
Changing your backyard into a stunning oasis is more than just a dream—it’s a reality with SalCorp Landscaping & Construction. With over 20 years of experience, we specialize in creating landscapes that blend functionality with beauty. Our expertise in building garden retaining walls ensures your outdoor space is both practical and visually appealing.
Whether you’re looking to improve your garden with raised planting beds, integrate your retaining wall with other features like patios or walkways, or explore creative design ideas like stair-stepped walls and fire pits, we’re here to bring your vision to life. Our team is dedicated to using sustainable practices, incorporating native plants and efficient irrigation systems to create landscapes that are environmentally friendly and easy to maintain.
Ready to transform your space? Contact SalCorp Landscaping & Construction today to discuss how we can help you build and beautify your garden retaining wall. Let us be your partner in creating a landscape that you and your family will enjoy for years to come.
