How to Lay a Brick Step: 5 Essential Expert Tips 2024
How to lay a brick step can immediately lift your home’s curb appeal, blending beautifully with various architectural styles. If you’re looking for a quick answer:
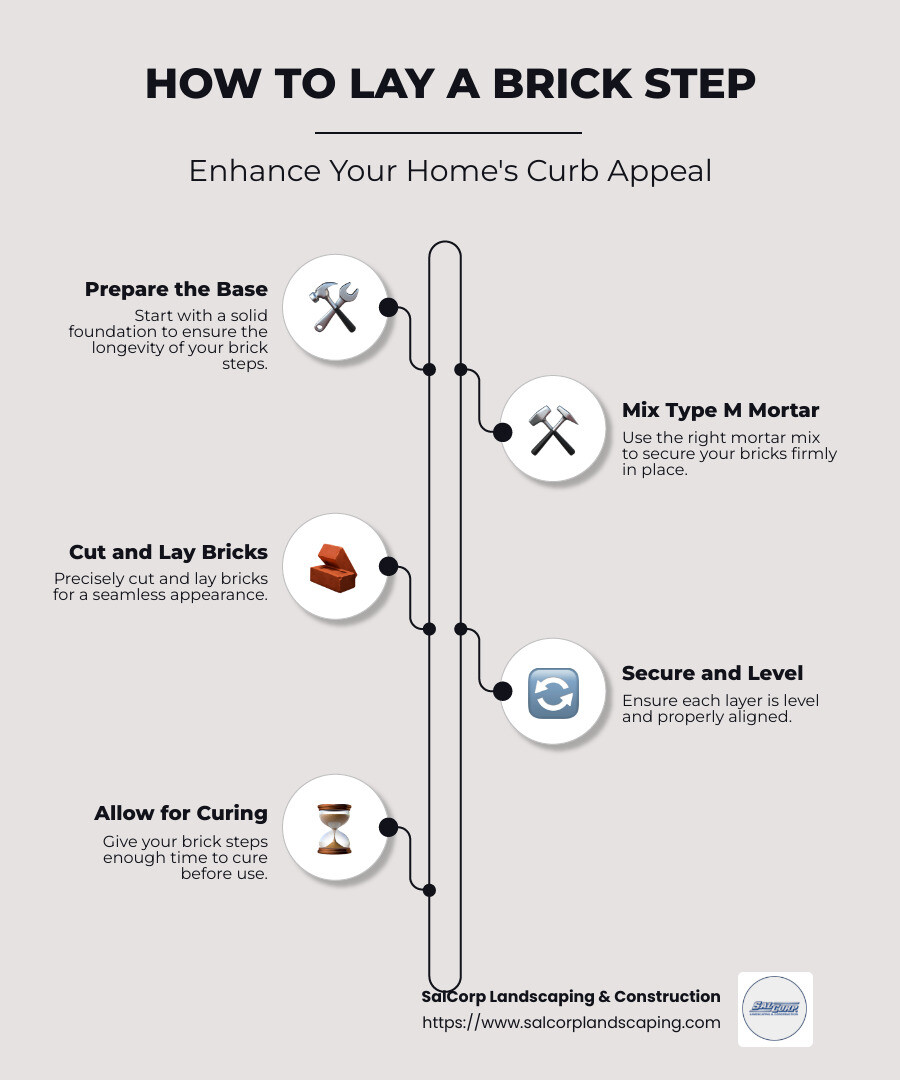
- Prepare the base with a solid foundation.
- Mix and apply the Type M mortar.
- Cut and lay bricks precisely.
- Secure and level each layer.
- Allow for adequate curing time before use.
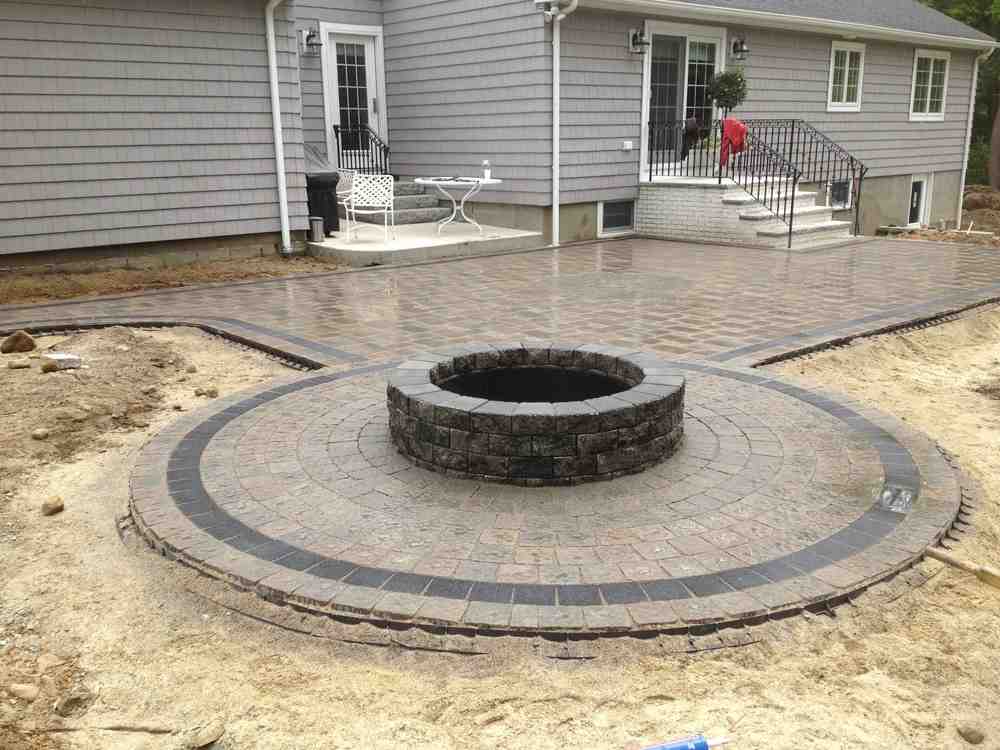
Brick steps are a timeless feature that complement everything from classic colonial homes to modern minimalist designs. They not only add a welcoming aesthetic but also increase property value.
Crafting these beautiful sconces of your home requires a thoughtful approach to both the design and the materials used. Using the right brick and mortar will ensure durability and visual harmony with your home’s style, creating an inviting first impression for visitors and potential buyers alike.
I’m Sal Musto, with over two decades of expertise at SalCorp Landscaping & Construction. I’ve honed my skills in mastering how to lay a brick step, ensuring every project meets the highest standards, enhancing outdoor spaces throughout Massachusetts. Let’s explore the foundations and techniques essential for getting this right.
Preparing the Foundation
Laying brick steps starts with a solid foundation. This is crucial to ensure your steps are durable and safe. Let’s break down the essentials: footing, frost line, and concrete base.
Footing
A strong footing is the backbone of any brick step project. It acts as a support system, distributing the weight of the steps evenly. Without proper footing, your steps could shift or sink over time, leading to cracks and uneven surfaces.
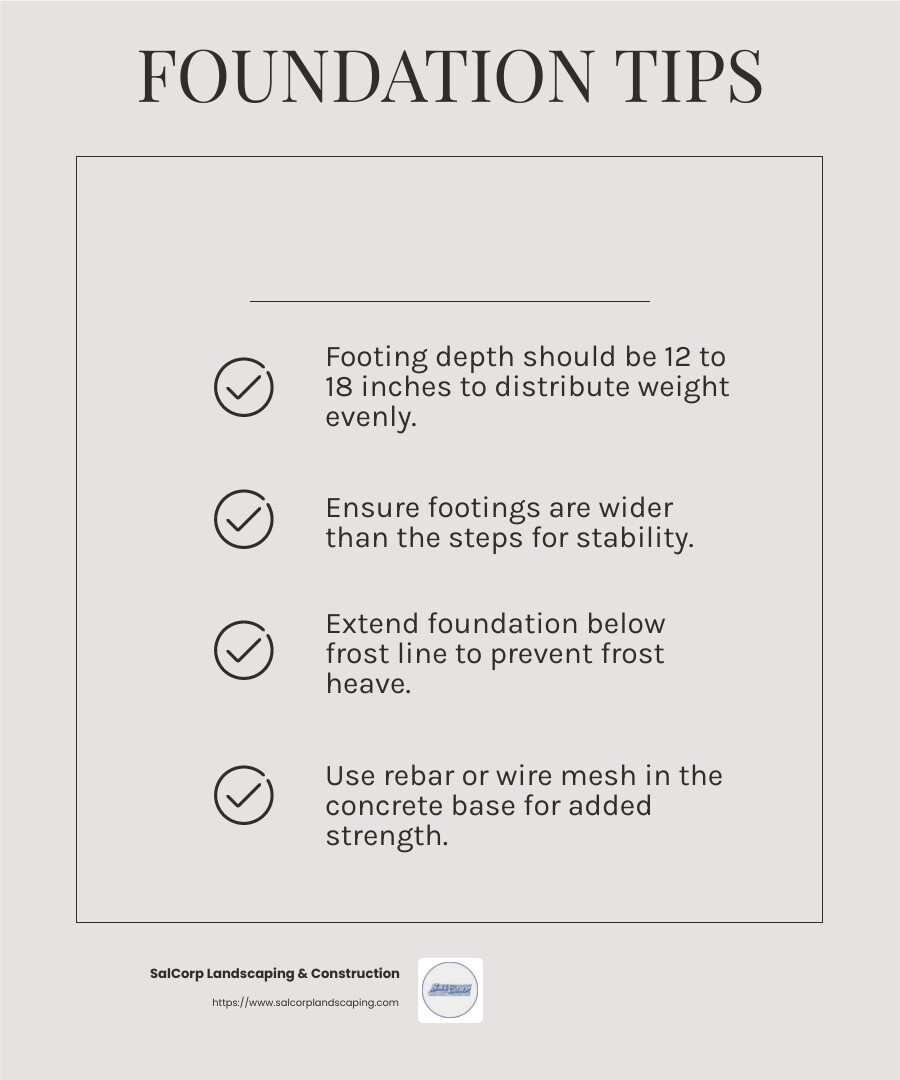
- Depth: Ensure the footing is deep enough to support the weight. Typically, a depth of 12 to 18 inches is recommended for most residential projects.
- Width: The footing should be wider than the steps themselves. This extra width provides stability and prevents tipping.
Frost Line
In colder climates, like those in Massachusetts, understanding the frost line is critical. The frost line is the depth at which the ground freezes in winter. If your foundation doesn’t extend below this line, frost heave can occur, pushing the steps out of alignment.
- Local Guidelines: Check local building codes to determine the frost line depth in your area. This ensures your footing extends below the frost line, preventing future damage.
Concrete Base
The concrete base is the surface on which your bricks will rest. It must be level and strong to support the bricks and mortar.
- Thickness: A 3-7/8-inch-thick concrete base is generally adequate for most brick steps. However, always consult local building codes to ensure compliance.
- Reinforcement: Consider using rebar or wire mesh to reinforce the concrete. This adds strength and helps prevent cracking.
With these foundational steps in place, you’re well on your way to creating beautiful, lasting brick steps. Next, we’ll dig into the materials and techniques that bring your project to life.
How to Lay a Brick Step
Creating beautiful brick steps involves more than just stacking bricks. It requires the right materials and a systematic approach. Let’s explore the essentials of how to lay a brick step, focusing on the materials and the step-by-step process.
Choosing the Right Materials
The materials you choose are crucial for the durability and appearance of your brick steps.
- Type M Mortar: This is a high-strength mortar ideal for load-bearing applications like steps. It’s essential for binding the bricks together and providing structural integrity.
- Bricks: Choose bricks that match your home’s exterior and withstand local weather conditions. They come in various colors and textures, offering plenty of design flexibility.
- Portland Cement: This is a key ingredient in the mortar mix, providing strength and durability.
Step-by-Step Process
With the right materials in hand, follow these steps to lay your brick steps:
- Cut and Place Forms: Begin by cutting forms from 3/4-inch plywood. These forms will shape the mortar bed and guide the placement of bricks. Secure the forms with stakes, ensuring they are level and aligned with the top edges slightly above the existing steps.
- Apply Mortar: Mix a small batch of mortar following the instructions on the bag. Using a mason’s trowel, spread a 1/2-inch layer of mortar on the bottom and face of the first riser. This will provide a bed for the bricks.
- Lay First Brick Step: Start with the first riser brick. Ensure the joints are 3/8-inch thick and the top of the brick is flush with the step. Use a level to check that the bricks are even. Butter the ends of subsequent bricks and place them in position, checking alignment as you go.
- Layer Mortar and Screed: Apply another 1/2-inch layer of mortar on the first tread. Spread mortar on the top edges of the riser bricks. Use a screed to level the mortar by moving it side to side across the surface.
- Place Tread Bricks: Begin laying the tread bricks from the rear of the step. Maintain a consistent joint thickness and use spacers if needed. Tap the bricks gently with the trowel handle to bed them in the mortar. Remove spacers and ensure the bricks are level using a straightedge.
This methodical approach ensures each brick is placed precisely, resulting in steps that are both beautiful and functional. With these steps outlined, you’re ready to move on to advanced techniques that can further improve your project.
Advanced Techniques for Brick Steps
Once you’ve mastered the basics of how to lay a brick step, it’s time to explore some advanced techniques. These methods can add both strength and style to your project.
Rowlock Pattern
One way to improve the visual appeal and durability of your brick steps is by using a rowlock pattern. This pattern involves laying bricks on their narrow edge, creating a distinctive look. It’s not just about aesthetics; this pattern can also provide extra strength, especially for the tread.
To achieve this pattern, ensure the bricks are precisely aligned and leveled. This will help prevent water from pooling on the steps, which can lead to erosion over time.
Overlap Risers
Another technique to consider is overlapping the risers. This involves allowing the tread bricks to extend over the riser by 1 to 2 inches. The overlap should be consistent across all steps for a uniform appearance.
This method not only adds a classic touch to your steps but also helps in directing rainwater away from the risers. By doing so, it reduces the potential for water damage and prolongs the lifespan of your steps.
Screed Surface
For a smooth and even mortar bed, use a screed. This tool ensures the mortar is evenly distributed and level. Here’s how you can perfect this technique:
- Prepare the Screed: Cut a screed from a 1x or 2x piece of wood to match the width of your step forms.
- Level the Mortar: Once you’ve applied the mortar, place the screed on top of the forms. Slide it back and forth in a sawing motion. This will level the mortar, creating a perfect base for your bricks.
- Check for Consistency: As you screed, ensure the mortar surface is consistent and free of dips or bumps.
These advanced techniques not only improve the appearance of your steps but also contribute to their structural integrity. By incorporating patterns like rowlock and ensuring a well-screeded surface, your brick steps will stand the test of time.
Next, let’s address some common questions about laying brick steps, from the necessity of footings to the materials you’ll need.
Frequently Asked Questions about Laying Brick Steps
Can you lay brick steps on dirt?
Laying brick steps directly on dirt might seem like a simple solution, but it’s not advisable. Before World War II, this was a common practice due to limited access to modern construction materials and techniques. However, soil quality can vary greatly, leading to uneven settling and instability over time.
In modern construction, a stable foundation is crucial. Soil can shift, especially with changes in moisture levels, which can cause your steps to crack or collapse.
Do brick steps need a footing?
Yes, brick steps do need a footing, especially in environments like the northeast where freeze-thaw cycles can wreak havoc on structures. A concrete footing provides essential support and stability. It helps prevent the steps from shifting or sinking over time.
In cold climates, it’s important to dig the footing below the frost line. This prevents the foundation from heaving when the ground freezes. Proper concrete support ensures your steps are safe and long-lasting.
What are the steps to laying brick?
Creating beautiful and durable brick steps involves several key steps:
- Materials Preparation: Gather all necessary materials, including Type M mortar, bricks, and Portland cement. Ensure you have the right tools, such as a mason’s trowel and level.
- String Line: Use a string line to mark the dimensions of your steps. This will guide you in keeping the bricks straight and level.
- Mortar Application: Mix the mortar according to the instructions. Apply a layer on the foundation and butter the ends of each brick. This ensures strong adhesion and stability.
By following these steps, you’ll create a solid and visually appealing set of brick steps. Proper preparation and attention to detail are key to success.
Now that we’ve covered these common questions, let’s dig deeper into the techniques and tips for mastering the art of laying brick steps.
Conclusion
At SalCorp Landscaping & Construction, we believe that well-crafted brick steps are more than just a functional necessity—they’re a statement piece that lifts the aesthetic of your home. Based in Massachusetts, we specialize in landscape design and hardscaping, offering over 20 years of expertise to transform outdoor spaces into beautiful, functional environments.
Our approach to laying brick steps combines traditional craftsmanship with modern techniques. We understand the unique challenges of the northeastern climate, from freeze-thaw cycles to soil stability, and we address these with meticulous planning and execution. Our team uses only the highest quality materials, like Type M mortar and premium bricks, ensuring that your steps are not only visually appealing but also built to last.
Choosing SalCorp means choosing a partner dedicated to excellence. Whether you’re enhancing your home’s curb appeal or creating a grand entrance, our owner-operated team is committed to delivering superior results. We take pride in our work, ensuring each project is custom to meet your specific needs and style preferences.
Ready to transform your outdoor space? Explore our services and find how we can help you master the art of laying brick steps. Let us bring your vision to life with precision and care, creating a lasting impression that you and your guests will appreciate for years to come.
