How to Prepare Lawn for Hydroseeding: 7 Essential Steps

How to prepare lawn for hydroseeding is crucial for achieving a lush and thriving green space. If you’re short on time, here’s a quick checklist:
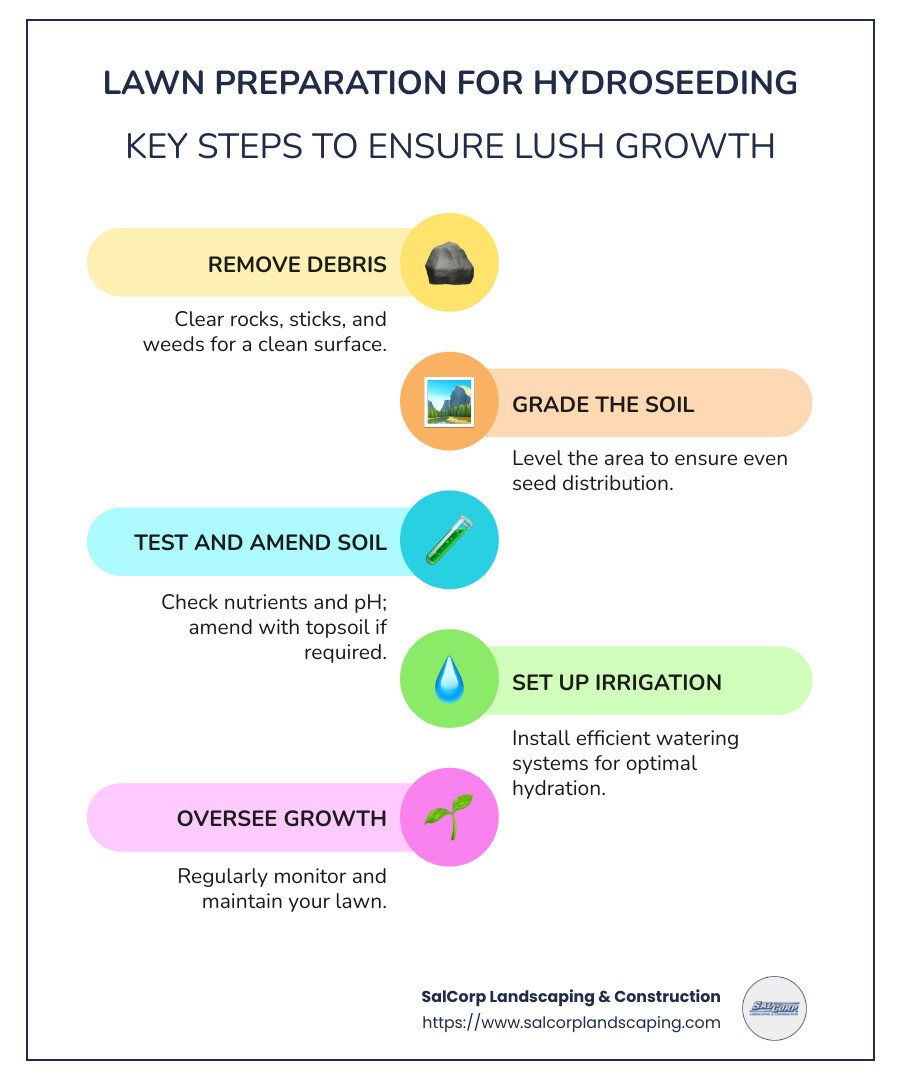
- Remove Debris: Clear rocks, sticks, and weeds.
- Grade the Soil: Ensure proper leveling for even seed distribution.
- Test and Amend Soil: Check soil nutrients and pH; add topsoil if needed.
- Set Up Irrigation: Ensure efficient watering systems are in place.
Preparing your lawn before hydroseeding is vital for success. Proper preparation ensures a smooth, fertile base, helping grass grow faster and withstand environmental challenges.
I’m Sal Musto, owner of SalCorp Landscaping & Construction, and I’ve spent over two decades specializing in how to prepare lawn for hydroseeding across Massachusetts communities. My team and I ensure every detail is carefully planned for the best results.
Essential Steps for Preparing Your Lawn for Hydroseeding
Remove Debris
Before you even think about hydroseeding, the first step is to remove debris from your lawn. This means clearing away rocks, sticks, and any existing vegetation like grass or weeds. These items can interfere with the even application of the hydroseed slurry and prevent seeds from making good soil contact.
Why is debris removal important?
- Smooth Application: Rocks and sticks can block the hydroseeding spray, leading to uneven coverage.
- Better Soil Contact: Removing existing vegetation allows the seeds to make direct contact with the soil, improving germination rates.
To get started, grab a rake and start clearing your yard. For larger rocks or stubborn roots, you might need a shovel or a small garden hoe.
Control Weeds
Once your lawn is clear of debris, the next crucial step is weed control. Weeds compete with your grass for nutrients, water, and sunlight.
How to control weeds effectively:
- Herbicides: Use a systemic herbicide to kill weeds down to the root. Products like Roundup can be effective, but remember to follow the instructions on the label for the best results.
- Fertilizers: After applying herbicide, consider using a granular fertilizer like 16-6-8. This helps bring dormant weed seeds to the surface, making them easier to eliminate.
- Timing: Timing is everything. Apply the herbicide at least 7-15 days before hydroseeding to ensure all weeds are dead. This waiting period allows the herbicide to work through the plant system.
Soil Tilling and Amendment
Now, it’s time to focus on the soil. Tilling the soil is essential for loosening it up, which helps grass roots penetrate deeper and grow stronger.
Steps for soil tilling and amendment:
- Loosening Soil: Use a tiller or a garden fork to break up the soil. Aim for a depth of 4-6 inches to ensure the soil is loose enough for root growth.
- Depth of Tilling: The ideal depth allows for proper aeration and better water retention, which are key for seed germination.
- Types of Soil Amendments: If your soil is compacted or lacking nutrients, consider adding amendments like compost, peat moss, or a 50/50 blend of topsoil. These enrich the soil and improve its structure.
By following these steps, you create a fertile and welcoming environment for your new grass to thrive. Proper soil preparation sets the stage for a lush and healthy lawn that will make your neighbors green with envy.
Next, we’ll explore how to ensure your soil is in optimal condition through testing and amendments.
How to Ensure Optimal Soil Conditions
To set the foundation for a thriving lawn, it’s crucial to ensure optimal soil conditions. This involves a few key steps: conducting soil tests, adding topsoil if necessary, and amending the soil with organic materials.
Conduct Soil Testing
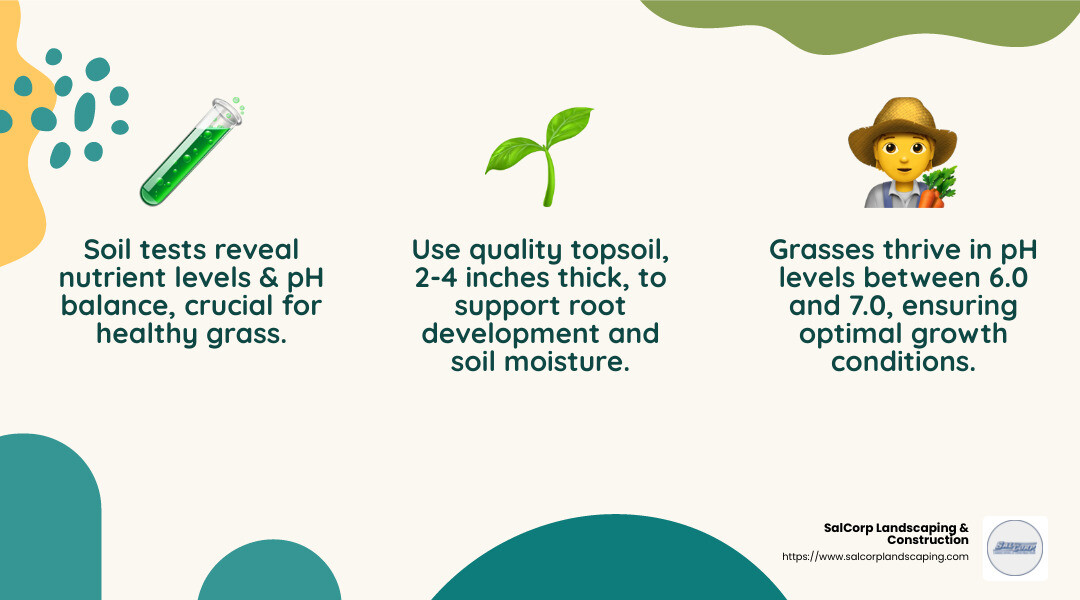
Before diving into any soil amendments, start with a soil test. This step is like a health check-up for your lawn, revealing essential information about nutrient levels and pH balance.
- Nutrient Levels: Knowing what nutrients your soil lacks helps you choose the right amendments. Common deficiencies include nitrogen, phosphorus, and potassium.
- pH Balance: Most grasses prefer a pH range between 6.0 and 7.0. If your soil is too acidic or alkaline, it can hinder grass growth.
Soil test kits are available at most garden centers, or you can send samples to a local lab for a more detailed analysis. Adjust your soil based on the test results to create the best growing environment.
Add Topsoil if Necessary
If your soil test reveals poor soil quality, consider adding topsoil. Quality topsoil acts as a nutrient-rich layer that supports robust grass growth.
- Quality Topsoil: Look for topsoil that is dark, crumbly, and free of debris. It should be rich in organic matter to support plant life.
- Proper Thickness: Aim to spread topsoil at a thickness of about 2 to 4 inches. This provides a solid base for root development and helps retain moisture.
Adding topsoil can be especially beneficial if your existing soil is rocky or compacted, as it improves the overall soil structure and fertility.
Amend Soil
Once you’ve tested and possibly added topsoil, it’s time to amend the soil with organic materials like compost and peat moss.
- Organic Matter: Compost is an excellent amendment, providing nutrients and improving soil structure. It acts like a natural fertilizer, feeding the soil microbiology and enhancing water retention.
- Compost: Rich in nutrients, compost improves soil fertility and encourages healthy root growth. Incorporate it into the top few inches of soil for the best results.
- Peat Moss: This amendment helps improve soil aeration and moisture retention. It’s particularly beneficial in sandy soils that drain too quickly.
By taking these steps, you ensure your soil is in peak condition for hydroseeding. A well-prepared soil bed not only supports quick germination but also leads to a lush, healthy lawn.
Next, we’ll dig into effective irrigation and water management techniques to keep your lawn hydrated and thriving.
Irrigation and Water Management
Proper irrigation and water management are key to ensuring your hydroseeded lawn thrives. Here’s how to set up an efficient watering system and adopt effective watering practices.
Set Up Efficient Irrigation
Sprinkler Setup: A well-designed sprinkler system is crucial for maintaining consistent moisture. Ensure your sprinklers cover the entire lawn area without leaving dry spots.
- Sprinkler Coverage: Adjust sprinkler heads to provide even coverage, avoiding overlap that can lead to water waste.
- Adjustments and Maintenance: Regularly check for clogs or misalignments. Adjust your system seasonally to accommodate changing weather patterns.
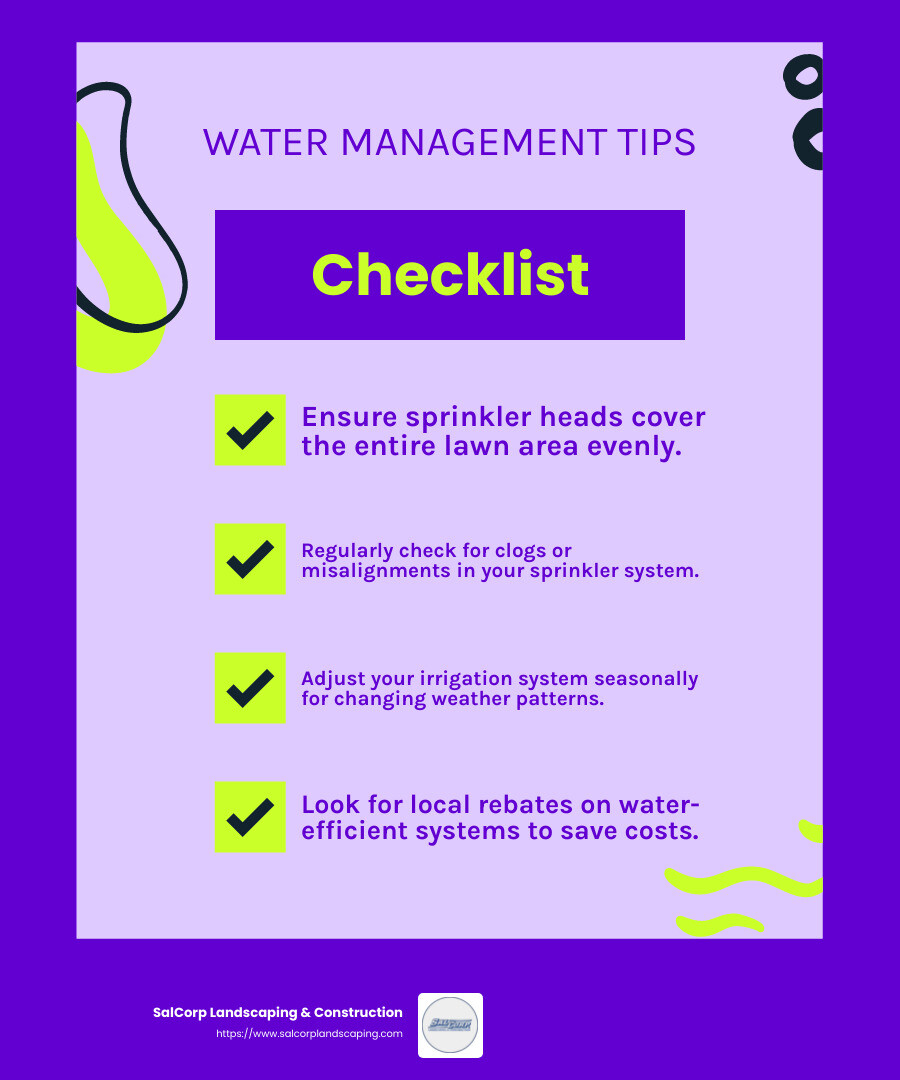
Rebates and Incentives: Many regions offer rebates for installing water-efficient systems. Check local programs to save on installation costs and promote sustainable practices.
Effective Watering Practices
Water Conservation: With increasing drought conditions, use water wisely. Here are some techniques:
- Drought-Resistant Techniques: Opt for drip irrigation or smart controllers that adjust watering based on weather conditions. These systems can significantly reduce water usage.
- Scheduling: Water early in the morning or late in the afternoon to minimize evaporation. This ensures water reaches the roots where it’s needed most.
Drought Considerations:
- In areas prone to drought, choose drought-resistant grass varieties and consider xeriscaping elements in your landscape design.
- Implement rain sensors to automatically shut off irrigation during rainfall, conserving water and preventing overwatering.
By setting up an efficient irrigation system and adopting water-conserving practices, you can keep your lawn healthy and lush while being mindful of water resources. Up next, we’ll dive into how to prepare your lawn for hydroseeding by achieving the perfect grade.
How to Prepare Lawn for Hydroseeding: Achieving the Perfect Grade
Achieving the perfect grade is crucial for a successful hydroseeding project. Proper grading ensures optimal drainage and prevents water from pooling around your home, which can lead to serious damage. Let’s explore effective grading techniques and the tools you’ll need for leveling.
Techniques for Effective Grading
Use of Tractors: For large areas, using a tractor can save time and effort. Tractors equipped with grading blades or box scrapers help achieve a smooth, even surface. This is especially useful for areas with significant slopes or uneven terrain.
Manual Grading: In smaller spaces or areas where precision is key, manual grading can be more effective. This involves using hand tools to refine the grade, ensuring a gentle slope away from structures. This prevents water from collecting around foundations and encourages proper drainage.
Final Grading Tips:
- Slope Direction: Always grade the soil to slope away from your home. A slope of about 2% is generally recommended for effective drainage.
- Smooth Transitions: Ensure that the transitions between different areas of your lawn are smooth to avoid sudden drops or rises that can lead to erosion or water pooling.
Tools for Leveling
Rakes: A sturdy rake is essential for breaking up clumps and smoothing the soil surface. Use a landscape rake for larger areas to make quick work of leveling.
Rollers: After grading, use a roller to compact the soil lightly. This helps to firm up the surface, making it ready for hydroseeding. Be gentle to avoid over-compacting, which can hinder root growth.
Tiller Adjustments: If you’re dealing with rocky or compacted soil, a tiller can be invaluable. It loosens the soil, making it easier to grade and allowing for better root penetration once the grass begins to grow.
By employing these grading techniques and using the right tools, you can create an ideal foundation for your hydroseeding project. Up next, we’ll address some frequently asked questions about hydroseeding to help you make informed decisions.
Frequently Asked Questions about Hydroseeding
Can you hydroseed over existing grass?
Hydroseeding over existing grass is not typically recommended. The slurry mixture used in hydroseeding can smother the existing grass, leading to poor results. If you need to fill in bare patches or thicken your lawn, overseeding is a better option. This involves using a power rake to prepare the soil and then seeding by hand. Overseeding can help refresh your lawn without the risks associated with hydroseeding over established grass.
Can you hydroseed without topsoil?
Topsoil plays a crucial role in the success of a hydroseeding project. It provides the necessary nutrients and a suitable environment for seed germination. While it’s technically possible to hydroseed without adding new topsoil, the results may not be optimal. If your existing soil is poor in quality, consider enhancing it with a layer of quality topsoil. This will improve nutrient levels and ensure a better foundation for your new grass.
Should I aerate before hydroseeding?
Aeration can be beneficial before hydroseeding, especially in compacted soils. By creating small holes in the soil, aeration allows air, water, and nutrients to penetrate deeper, promoting healthy root growth. The benefits of aeration include improved soil structure and improved seed-to-soil contact, which are vital for successful germination. Methods of aeration include using a manual or mechanical aerator. Both can effectively prepare your lawn for hydroseeding by loosening the soil and improving its overall health.
By addressing these common questions, you can better prepare your lawn for a successful hydroseeding project. Understanding the importance of soil quality and proper preparation techniques will help you achieve a lush, green lawn. Up next, we will explore effective irrigation and water management strategies to support your newly hydroseeded lawn.
Conclusion
Review of Steps
Preparing your lawn for hydroseeding is a multi-step process, but each step is crucial for achieving a lush, green lawn. Start by removing debris such as rocks and sticks to ensure a clean slate. Next, focus on weed control using appropriate herbicides and fertilizers, considering the timing for maximum effectiveness. Soil tilling is essential to loosen the soil and improve its structure, making it easier for the seeds to take root. Soil testing helps you understand the nutrient levels and pH balance, guiding any necessary amendments. Adding topsoil and organic matter like compost can improve soil quality significantly. Finally, ensure proper irrigation and water management to keep your seeds hydrated and support healthy growth.
Importance of Professional Guidance
While some homeowners may choose to tackle hydroseeding as a DIY project, professional guidance can make a significant difference in the outcome. Experts can conduct thorough soil testing, choose the right seed blend, and apply the slurry with precision. They can also offer insights into water conservation techniques and strategies to manage your lawn during droughts. By hiring professionals, you can avoid common pitfalls and ensure that your lawn thrives.
SalCorp Landscaping & Construction
At SalCorp Landscaping & Construction, we understand the complexities of preparing a lawn for hydroseeding. With over 20 years of experience, we offer comprehensive outdoor space solutions custom to your specific needs. Our owner-operated business uses its own machinery to provide efficient and cost-effective services. We serve various communities in Massachusetts, including Canton, Dedham, Foxborough, and more.
Whether you’re looking to improve your home’s curb appeal or create a welcoming outdoor space for your business, our team is here to help. Trust us to bring your vision to life with our professional hydroseeding services. Learn more about our hydroseeding services and how we can transform your landscape.
