Installing New Grass Sod: Top 5 Easy Steps for Success
Installing new grass sod provides a fast and efficient way to achieve a stunning green lawn. Here’s a quick overview of the process:
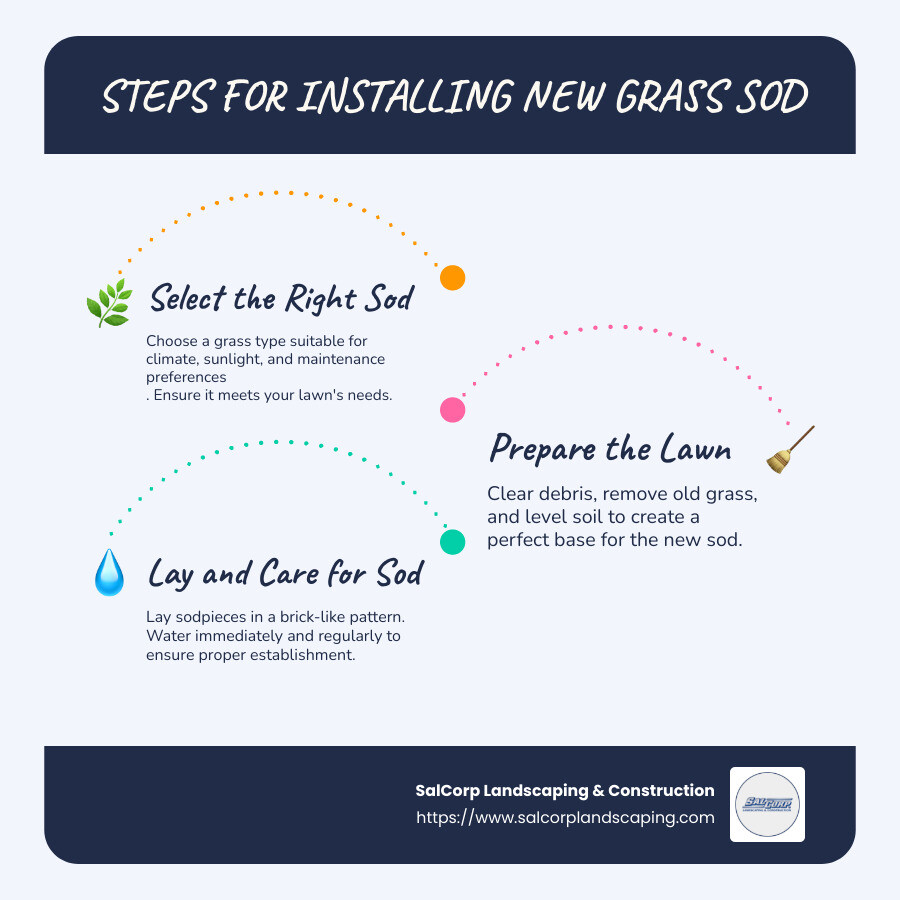
- Select the Right Sod: Choose a grass type suitable for your climate, sunlight exposure, and maintenance preferences.
- Prepare the Lawn: Clear debris, remove old grass, and level the soil to create a perfect base for sod.
- Lay the Sod: Place sod pieces tightly together in a brick-like pattern for seamless coverage.
- Water and Care: Water immediately and frequently, ensuring proper sod-surface contact until it establishes.
Changing your yard with sod is not only about quick results but also about turning a barren space into a vibrant, inviting outdoor area. The advantages include nearly instant gratification and the establishment of a sturdy lawn that improves your property’s aesthetic and functional value.
I’m Sal Musto, with over twenty years dedicated to enhancing outdoor spaces through SalCorp Landscaping & Construction. My team and I are experienced in installing new grass sod, committed to providing reliable and excellent service in Massachusetts. Our focus on quality ensures that your new lawn is both lush and resilient, promising satisfaction for years to come.
Installing new grass sod terms made easy:
– average cost of sodding a yard
– lawn service sod installation
– sod installation cost per square foot
Choosing the Right Sod
Selecting the right sod is crucial for a lush, healthy lawn. It involves understanding your local climate, sunlight conditions, and how much time you can dedicate to lawn maintenance. Here’s how to make the best choice:
Cool-Season vs. Warm-Season Grasses
Cool-Season Grasses thrive in cooler climates, making them ideal for places like Massachusetts. Examples include Kentucky bluegrass and fine fescue. These grasses grow best in spring and fall when temperatures are moderate.
Warm-Season Grasses, like Bermudagrass and Zoysia, prefer hotter climates. They are not typically recommended for cooler areas as they may struggle to thrive.
Sunlight Conditions
Not all grass types are created equal when it comes to sunlight. Some require full sun, while others can tolerate shade. For example, fine fescue works well in shaded areas, whereas Bermudagrass prefers full sun. Assess how much sunlight your lawn receives throughout the day to ensure you choose the right type.
Maintenance Requirements
Consider how much time and effort you can spend on lawn care. Some grasses need frequent mowing and fertilizing, while others are more low-maintenance. If you prefer minimal upkeep, look for grass varieties known for their resilience and lower care demands.
Intended Use
Think about how you plan to use your lawn. If it’s for high-traffic areas, you’ll need a durable grass type like perennial ryegrass that can withstand wear and tear. For ornamental purposes, a softer, finer grass might be more suitable.
Local Recommendations
Consult with local nurseries or gardening experts to get recommendations custom to your region. They can provide insights into which grass types perform best in your area’s specific climate and soil conditions.
By considering these factors, you can select the ideal sod that not only meets your aesthetic preferences but also thrives in your local environment. This ensures a beautiful, long-lasting lawn that improves your outdoor space.
Preparing Your Lawn for Sod Installation
Before installing new grass sod, it’s crucial to prepare your lawn properly. This involves several steps, each vital for ensuring your sod takes root and flourishes.
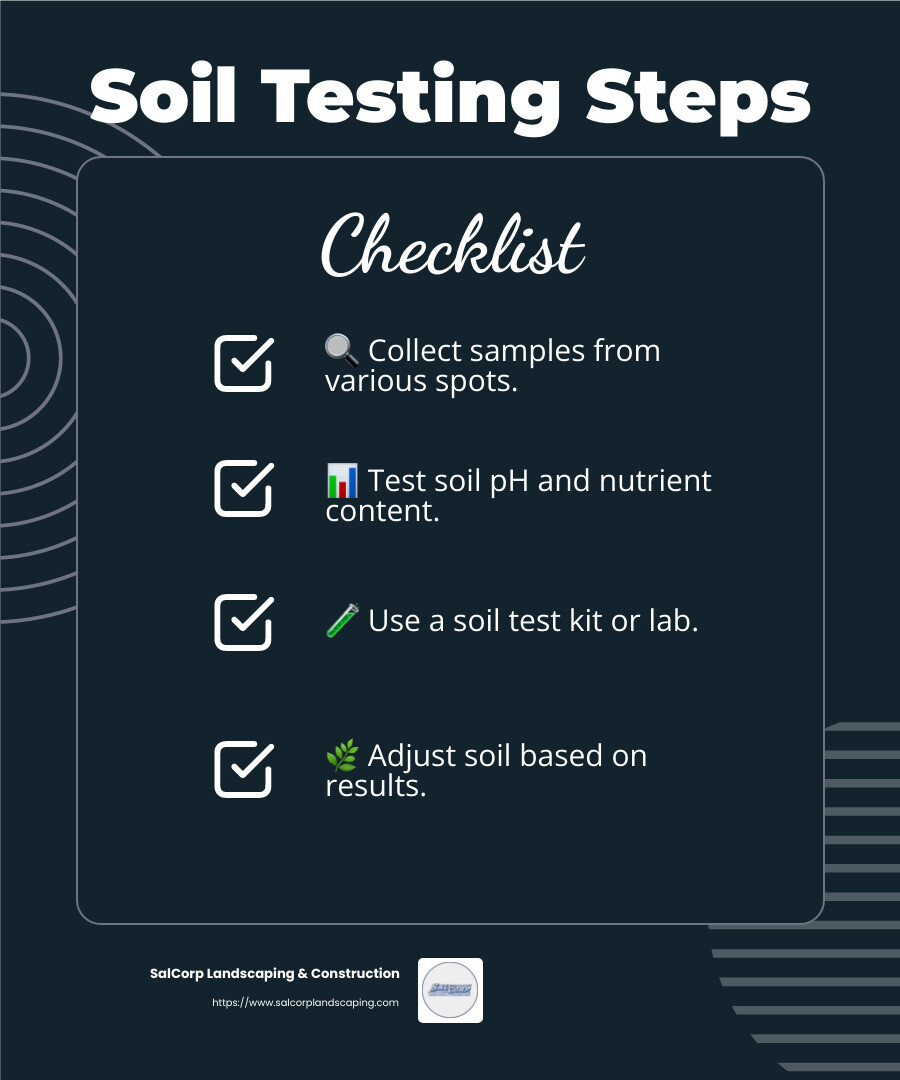
Soil Testing
Start with a soil test to check pH levels and nutrient content. Knowing your soil’s composition helps you make necessary adjustments. You can use a soil test kit available online or send samples to a local testing lab. For the best results, collect samples from several spots in your yard, especially if you’ve had past lawn issues.
Removing Existing Grass
To remove old grass and weeds, use a sod cutter or shovel. This method is effective and avoids the potential problems of using herbicides, which can leave harmful residues in the soil. Focus on removing only the top layer of grass and roots, not the soil beneath.
Tilling and Amending Soil
Next, use a rototiller to break up compacted soil. This step is essential for creating a loose, well-aerated base that allows roots to penetrate deeply. Before tilling, water the soil lightly to make the process easier.
Add organic matter like compost to improve soil structure and drainage. Based on your soil test results, you may need to incorporate amendments to adjust pH or nutrient levels. Spread a layer of compost and till it thoroughly into the soil for even distribution.
Leveling the Soil
Finally, level the soil using a garden rake or leveling tool. This step ensures proper drainage and makes future mowing easier. Aim for a smooth, even surface that’s about an inch below any paved areas, like walkways or driveways.
Creating a solid foundation through these preparation steps sets the stage for successful sod installation. Properly prepared soil leads to a lush, healthy lawn that thrives in its environment.
Installing New Grass Sod
Scheduling Sod Delivery
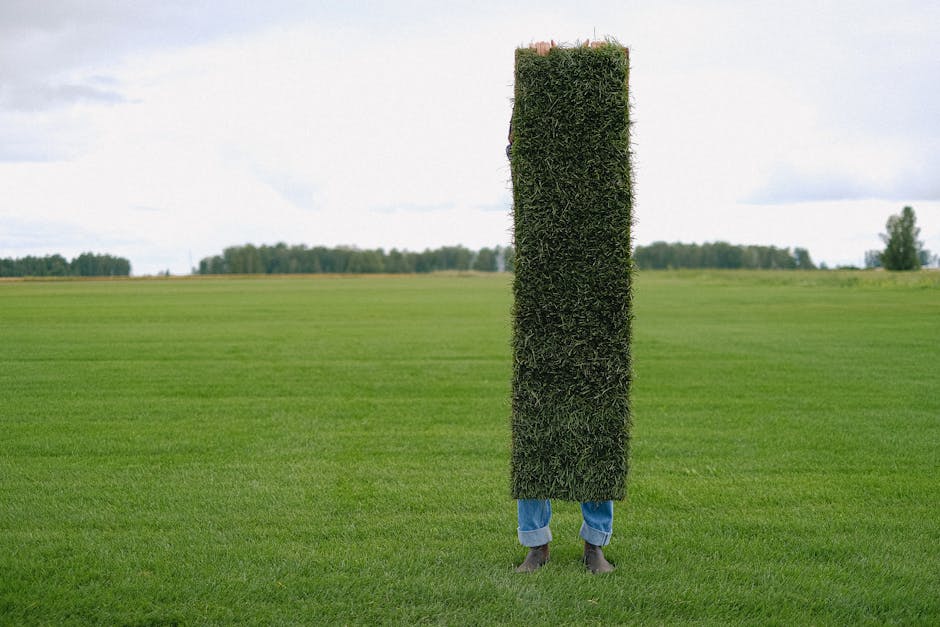
Timing is everything when it comes to installing new grass sod. Fresh sod is like fresh produce; it doesn’t last long. Ideally, you want to schedule delivery so that your sod arrives just as you finish preparing the soil. This ensures you can lay it down immediately, as sod can start to degrade within 48 hours after being cut.
Plan your delivery a few days in advance, especially if you have a specific schedule in mind. Local sod suppliers might have a backlog, so book early to secure your preferred date.
Laying the Sod
Once your sod is delivered, it’s time to lay it out. Start by unrolling the first piece along a straight edge, like a fence or driveway. This helps keep everything aligned. As you lay each piece, ensure the seams are tight but not overlapping. This prevents gaps where weeds might grow.
To create a strong, interlocking pattern, stagger the seams in a brick-like layout. This means cutting the first piece of the second row in half. Use a sharp knife to trim edges and fit sod around curves or obstacles. This precision helps the sod knit together and thrive.
Ensuring Proper Contact
Proper contact between sod and soil is crucial for root establishment. To achieve this, use a lawn roller to press the sod firmly into the soil. Roll in a grid pattern, first in one direction and then perpendicular to it. This removes air pockets and ensures good soil contact.
If a lawn roller isn’t available, a large piece of plywood can work in a pinch. Gently walk over the plywood to press the sod down evenly. On slopes, use sod staples to secure pieces in place and prevent them from slipping.
By following these steps, you’re setting the foundation for a lush, green lawn that will be the envy of your neighborhood. Now, let’s move on to the next crucial phase: watering and caring for your new sod.
Watering and Caring for New Sod
Proper care for your newly installed sod is essential to ensure a healthy, vibrant lawn. Here’s how to do it right.
Initial Watering
Water your sod immediately after installation. This is crucial for settling the soil and creating a strong bond between the sod and the ground. Aim for a thorough soaking, ensuring the water reaches 3–4 inches below the surface. This initial watering sets the stage for healthy root growth.
Ongoing Watering Schedule
Week 1: Water daily, preferably in the early morning. Morning watering reduces evaporation and helps the sod acclimate to its new environment.
Week 2: Begin to water every other day. This encourages the roots to grow deeper as they search for moisture.
Week 3: Reduce watering to twice a week, maintaining the same amount of water per session.
Week 4 and Beyond: Provide about an inch of water per week, adjusting for rainfall. Consistent moisture is key, but avoid overwatering as it can lead to disease.
Use a soil probe to check moisture levels. The soil should be damp 3–4 inches down after watering. If it feels dry, increase the frequency or amount of water.
Fertilizing and Mowing
Wait four to six weeks before applying any fertilizer. This waiting period allows the sod to establish roots capable of absorbing nutrients effectively. When ready, use a starter fertilizer to replenish nutrients lost during the initial watering period. Follow the instructions carefully to avoid over-fertilizing, which can harm the lawn.
For mowing, let the grass grow to about 3–4 inches tall before the first cut. Set your mower deck to 3–3.5 inches for the first trim. This height helps develop a strong root system and reduces stress on the sod. Follow the “one-third rule”: never cut more than a third of the grass height in one mowing session.
Mow in the late morning, between 8 a.m. and 10 a.m., when the grass is dry and temperatures are cooler.
By following these watering and care tips, you’ll nurture a lush and healthy lawn that will thrive for years to come. Next, let’s explore some common mistakes to avoid during the sod installation process.
Common Mistakes to Avoid
1. Letting Sod Sit Too Long
Freshness is key when it comes to sod. Letting sod sit for too long before installing can lead to dried-out grass and weakened roots. Aim to lay your sod within 24 hours of delivery to ensure it’s in prime condition. Fresh sod is more likely to establish quickly and thrive.
2. Not Tilling Soil
Skipping the tilling step is a common oversight. Tilling the soil breaks up compacted areas, allowing roots to penetrate more easily. It also helps mix in any soil amendments, like compost or lime, making the ground more hospitable for new sod. Use a rototiller to prepare the soil thoroughly before installation.
3. Overlapping Pieces
When laying sod, avoid overlapping pieces. Overlapping can create uneven surfaces and prevent proper root contact with the soil. Instead, butt the edges snugly against each other without gaps. This seamless connection helps the sod pieces knit together and grow uniformly.
4. Leaving Gaps
Just like overlapping, leaving gaps between sod pieces is a pitfall to avoid. Gaps can dry out quickly, leading to dead patches. Ensure each piece is tightly placed against its neighbors. If you find gaps, fill them with topsoil to promote even growth.
5. Improper Watering
Watering is crucial, but too much or too little can be harmful. Overwatering can lead to disease and root rot, while underwatering can cause the sod to dry out. Follow the recommended watering schedule diligently. Use a soil probe to check moisture levels and adjust your watering routine as needed. The goal is to keep the soil consistently moist, especially during the first few weeks.
By steering clear of these common mistakes, you’ll set the stage for a lush, green lawn that will be the envy of the neighborhood. Next, we’ll address frequently asked questions about installing new grass sod.
Frequently Asked Questions about Installing New Grass Sod
When is the Best Time to Lay Sod?
Timing is everything when it comes to installing new grass sod. The best time to lay sod depends on your climate and the type of grass you choose.
- Cool-Season Grasses: These thrive in the cooler temperatures of late summer to early fall. This timing allows the sod to establish roots before winter sets in, providing a head start for spring growth.
- Warm-Season Grasses: If you’re in a warmer area, late spring to early summer is ideal. This period offers warm soil and plenty of sunlight, which are perfect for root development.
Sod can be laid almost anytime the ground isn’t frozen, but avoiding extreme heat or cold will yield better results.
How Much Does Sod Cost?
The cost of sod can vary, but here’s a general idea:
- Per Square Foot: Sod typically costs between $0.31 to $0.82 per square foot, depending on the grass type and region.
- Professional Installation: If you opt for professional installation, expect costs to rise to about $0.86 to $1.75 per square foot. This includes labor and materials, but professional installation can save you time and ensure quality.
- Bulk Discounts: Many suppliers offer bulk discounts. This can be a great way to save if you’re covering a large area. Always check with your supplier for potential savings.
Why Did My Lawn Die in the First Place?
Understanding why your lawn died can help prevent future issues. Here are some common culprits:
- Shade Issues: Grass needs sunlight to thrive. If your lawn is too shady for the grass type you’ve chosen, it may struggle to grow.
- Watering Problems: Both overwatering and underwatering can lead to problems. Too much water can cause root rot, while too little can dry out the grass.
- Mowing Practices: Cutting your grass too short or using dull mower blades can stress your lawn. Always follow recommended mowing heights and keep your blades sharp.
- Soil Compaction: Compacted soil makes it difficult for roots to penetrate and access nutrients. Aerating your lawn can help alleviate this issue.
- Turfgrass Selection: Choosing the wrong type of grass for your climate or usage needs can lead to poor growth. Always consider your local climate and how you plan to use your lawn when selecting sod.
By addressing these issues, you can create a thriving lawn that stays lush and green. Up next, we’ll explore the best practices for watering and caring for your new sod.
Conclusion
In summary, installing new grass sod is a fantastic way to quickly transform your outdoor space into a lush, green oasis. By following the proper steps—from choosing the right sod to preparing your lawn, laying the sod, and maintaining it—you can ensure a thriving lawn that improves the beauty and value of your home.
However, sod installation isn’t just about laying grass. It involves careful planning, precise execution, and ongoing care. That’s where professional help can make a significant difference. At SalCorp Landscaping & Construction, we bring over 20 years of experience to the table, offering comprehensive outdoor space solutions custom to your unique needs. Our owner-operated business ensures a personal touch, backed by a skilled team and our own machinery.
Based in Walpole, Massachusetts, we specialize in landscape design, hardscaping, and commercial snow management. Our expertise extends across various communities, including Canton, Dedham, Foxborough, Mansfield, Medfield, Norfolk, Norwood, Sharon, and Westwood.
Choosing professional help not only saves you time but also ensures that your sod installation is done right the first time. Our team at SalCorp is committed to delivering exceptional results, changing your landscape into a beautiful and functional space.
Ready to take the next step towards a lush lawn? Contact us today to schedule a consultation and find how we can bring your outdoor vision to life. Experience the difference with SalCorp Landscaping & Construction—where craftsmanship meets quality.
