Installing Zoysia Grass Sod: Top Guide for 2025 Success

Installing zoysia grass sod can dramatically improve the beauty and functionality of your outdoor spaces. If you’re looking for a quick overview, here’s the essential process:
- Prepare your soil by testing its pH and removing existing vegetation.
- Lay the sod in staggered patterns for seamless coverage.
- Water consistently, especially in the initial weeks, to establish strong roots.
Adding zoysia sod isn’t just about looks; it’s about changing your landscape into a durable, lush haven that’s easy to maintain. In regions like Massachusetts, where the climate demands resilient lawns, zoysia stands out for its adaptability and resistance to foot traffic and varying weather conditions. This grass variety brings benefits like less erosion, thick coverage, and reduced watering needs, contributing to a stunning curb appeal that lasts year-round.
I’m Sal Musto, with over two decades of experience in landscaping, specializing in installing zoysia grass sod to create vibrant, appealing lawns. At SalCorp Landscaping & Construction, we ensure your property gets the lush change it deserves. Let’s explore each step to make your project a success.

Key installing zoysia grass sod vocabulary:
– installing new grass sod
– lawn sodding companies near me
– sodding landscaping
Preparing Your Soil for Zoysia Sod
Kill Existing Vegetation
Before you start installing zoysia grass sod, it’s crucial to remove any existing vegetation. This step ensures that no old grass or weeds compete with your new sod for resources. The most effective way to achieve this is by using a glyphosate weed killer. Glyphosate targets the roots, ensuring the unwanted plants don’t come back to haunt your new lawn.
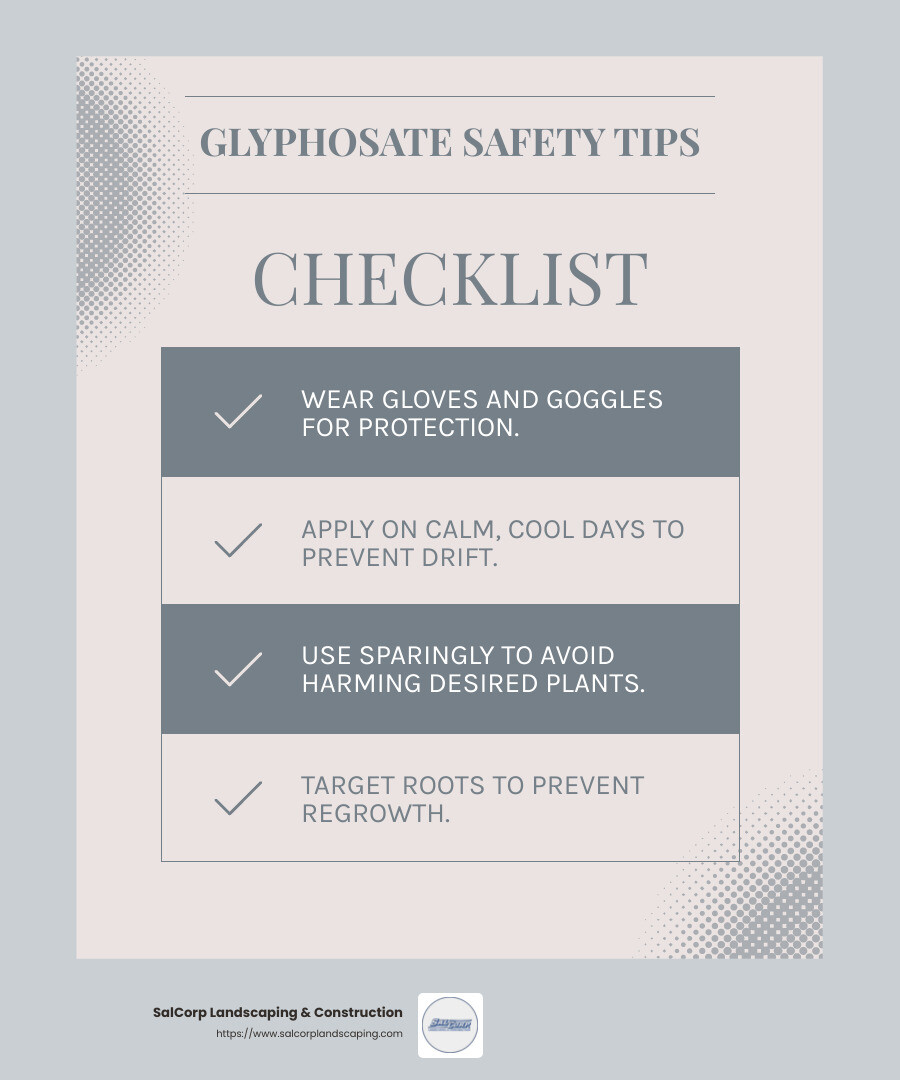
When applying glyphosate, remember to:
- Wear appropriate safety gear, like gloves and goggles.
- Choose a calm day to apply, avoiding windy or hot conditions.
- Apply the chemical sparingly. Overuse can harm your soil.
Sometimes, stubborn weeds may require a second treatment. Be patient and wait for all vegetation to die completely before moving on.
Till the Soil
Once the old vegetation is cleared, it’s time to till the soil. Tilling helps reduce soil compaction, allowing zoysia roots to grow deep and strong. It also improves water retention, which means you’ll spend less time watering your lawn.
Using a rototiller can make this task easier, especially for larger areas. Aim to dig at least three to four inches deep. For hard or compacted soils, consider watering lightly the day before tilling to soften the ground.
Rake and Remove Debris
After tilling, rake the area to remove any leftover debris, like dead vegetation or rocks. A metal rake is ideal for this task. Removing debris is essential because it prevents air pockets that can dry out the new sod.
Make sure the soil is as level as possible. If needed, add more topsoil to fill in low spots. This step ensures a smooth surface for your zoysia sod to settle and grow.
Apply Fertilizer
The final step before laying your sod is applying a starter fertilizer. This provides the nutrients your zoysia grass needs to establish a robust root system. Use a hand or walk-behind spreader to ensure even distribution.
Follow these tips for fertilizing:
- Apply fertilizer according to the instructions on the bag.
- Make multiple light passes with the spreader for uniform coverage.
- Avoid heavy applications, as this can damage the young grass.
Remember to remove any fertilizer that lands on sidewalks or driveways to prevent staining or runoff. Proper fertilization sets the stage for a healthy, thriving zoysia lawn.
Laying Zoysia Sod
Lay the Sod
Laying zoysia sod is like putting together a giant puzzle on your lawn. The goal is to cover the area completely without any gaps. Start by laying the first row of sod along a straight edge, like a driveway or a walkway. This helps keep everything aligned.
Use a staggered pattern, similar to bricks in a wall. This means the seams in one row should not line up with the seams in the next row. This pattern helps prevent soil erosion and keeps the sod tightly knit together.
Tight seams are essential. Push each piece of sod snugly against the next to ensure there are no gaps. Gaps can allow weeds to grow and can cause the edges to dry out faster.
For areas with curves or irregular shapes, a sharp utility knife is your best friend. Use it to carefully cut the sod to fit around garden beds, trees, or other obstacles. Make sure the edges are neat and fit together without any overlap, as overlapping can cause uneven growth.
Watering Your Zoysia Sod
Once your sod is laid, it’s time for the initial soak. This first watering is critical. It should be thorough, ensuring the water penetrates at least a few inches into the soil. This helps the sod settle and encourages the roots to start growing.
For the first 10-12 days, water your sod twice daily—once in the morning and once in the evening. Each watering session should last about 15-20 minutes. This schedule keeps the soil consistently moist, which is crucial for root development.
Be careful not to overwater. Overwatering can lead to soggy soil and disease. The key is to keep the soil moist but not waterlogged. If it rains, skip a watering session to avoid excess moisture.
As your sod begins to establish, you can gradually reduce the watering frequency. Aim to water less often but more deeply to encourage the roots to grow deeper into the soil.
By following these steps, you’ll set the stage for a lush, healthy zoysia lawn. Next, let’s dive into post-installation care to ensure your new sod thrives.
Post-Installation Care
Once you’ve laid your zoysia sod, the next step is to focus on post-installation care. This involves a precise watering schedule, monitoring root development, and keeping an eye out for potential issues. Here’s how to ensure your new lawn thrives.
Watering Schedule
For the first 10-12 days, maintaining a consistent watering schedule is crucial. Water your zoysia sod twice daily—once in the morning and once in the late afternoon. Avoid watering during the hottest part of the day, as this can cause water to evaporate quickly, leaving the soil dry.
Each watering session should last about 15-20 minutes. This keeps the soil consistently moist, which is essential for the roots to start growing. After this initial period, gradually reduce the watering frequency. Aim for deeper, less frequent watering sessions to encourage the roots to reach deeper into the soil.
Root Development
Root development is a critical part of establishing your zoysia sod. As the sod starts to take hold, you’ll want to ensure the roots are growing deeper. This can be achieved by allowing the top layer of the soil to dry out slightly between waterings. This encourages the roots to grow deeper in search of moisture, leading to a stronger, more drought-resistant lawn.
Check under the sod periodically to see if fresh white roots are starting to appear. This is a good sign that the sod is establishing well.
Monitoring for Issues
Keep an eye out for any signs of trouble. Brown spots can indicate that certain areas are not receiving enough water. In such cases, adjust your watering schedule or use a hose to target dry spots directly.
Be cautious of overwatering, which can lead to soggy soil and potential root rot. Signs of overwatering include soil that feels mushy or sod that looks waterlogged. If you notice these signs, reduce watering and allow the soil to dry out until the top 2 inches are crumbly.
By following these steps, you’ll help your zoysia sod establish strong roots and maintain a lush, green appearance. Now, let’s address some frequently asked questions about installing zoysia grass sod.
Frequently Asked Questions about Installing Zoysia Grass Sod
How do you prepare ground for zoysia sod?
Soil preparation is a key step when installing zoysia grass sod. Start by removing any existing vegetation. Use a glyphosate weed killer to ensure all weeds and grass are thoroughly killed. Safety is important, so wear gloves and goggles during application. Choose a day with calm weather to prevent drift.
Next, till the soil using a rototiller. This helps reduce compaction and improves water retention, creating a welcoming environment for the new sod. Aim for a depth of about 4-6 inches. After tilling, use a metal rake to level the soil and remove any remaining debris like rocks or sticks.
Finally, apply a starter fertilizer using a hand spreader for a uniform application. This provides essential nutrients to help your sod establish quickly.
How long does zoysia sod take to root?
The rooting time for zoysia sod depends on several factors, including soil conditions and watering practices. Typically, zoysia sod begins to root within 13-15 days after installation, assuming it receives proper care.
To encourage rooting, maintain consistent soil moisture. Water the sod twice daily for the first 10-12 days, ensuring the soil remains moist. As roots develop, reduce watering frequency to promote deeper root growth. Check for new white roots under the sod, a sign that it’s establishing well.
When should you lay zoysia sod?
The best time to lay zoysia sod is during its active growing season, which is late spring through early summer. This timing allows the sod to establish roots before cooler temperatures arrive.
Weather conditions also play a role. Choose a period when the soil is moist but not waterlogged. Avoid laying sod during extreme heat or drought conditions, as this can stress the grass and hinder root development.
By considering these factors, you’ll ensure your zoysia grass sod has the best chance to thrive.
Conclusion
Installing zoysia grass sod is a rewarding project that transforms your outdoor space into a lush, green oasis. By following the right steps—from soil preparation to post-installation care—you can ensure your new lawn thrives. Proper soil preparation, consistent watering, and careful monitoring are key to successful sod installation.
At SalCorp Landscaping & Construction, we understand the intricacies of creating a beautiful landscape. With over 20 years of experience, our team is equipped with the knowledge and tools to handle all aspects of lawn installation. We are committed to providing high-quality services that meet your specific needs and preferences.
Whether you’re in Walpole, Canton, or any of the surrounding Massachusetts communities, our expert team is ready to assist you. We offer comprehensive lawn installation services, from site preparation to professional sod laying. Our goal is to help you achieve the perfect outdoor space that improves your property’s beauty and value.
If you’re ready to transform your lawn with professional care and expertise, contact us today. Let SalCorp Landscaping & Construction be your trusted partner in creating a stunning and sustainable landscape.
