Do It Yourself Hydroseeding: Top 5 Amazing Tips 2025
Do it yourself hydroseeding is a fantastic way to achieve a lush, green lawn without breaking the bank. With its unique slurry mix—comprising seeds, mulch, water, and fertilizer—this method not only saves money compared to sodding but also promotes fast and even growth. Here’s a quick overview to get you started:
- Choose Appropriate Seeds and Mulch: Match your grass seed selection to your climate for the best results.
- Test Your Soil: Assess pH levels and nutrient content for optimal soil health.
- Prepare the Ground: Clear any debris and level the surface before seeding.
- Mix & Spray the Slurry: Combine your ingredients in a hydroseeder and apply evenly.
- Consistent Aftercare: Keep it moist and avoid foot traffic until fully established.
By following these straightforward steps, you can transform your yard into a green paradise in no time.
My name is Sal Musto, and with over two decades of experience enhancing outdoor spaces in Massachusetts, I’m passionate about guiding you through successful do it yourself hydroseeding projects. Leveraging my expertise, SalCorp Landscaping & Construction delivers top-notch landscape solutions, ensuring your hydroseeding project meets the highest standards.
Explore more about do it yourself hydroseeding:
– how to prepare lawn for hydroseeding
– how to care for hydroseeded lawn
– how often to water hydroseeded lawn
What is Hydroseeding?
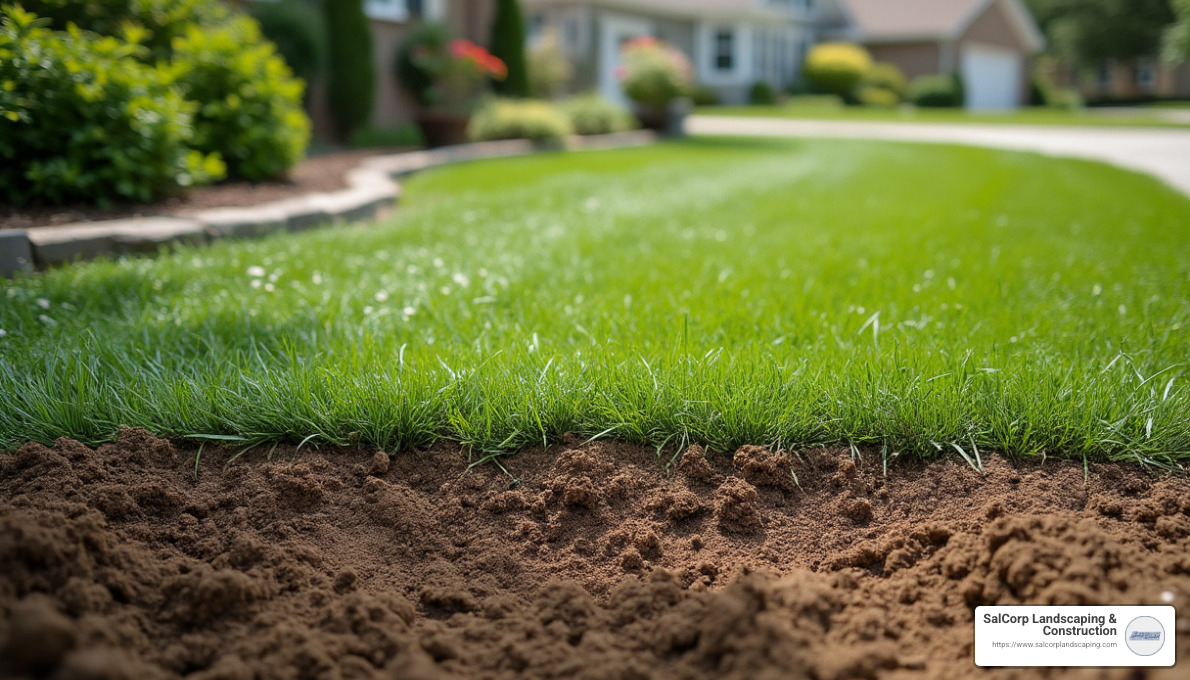
Hydroseeding, also known as hydromulching, is a savvy technique for planting grass. It involves spraying a slurry mixture directly onto prepared soil. This slurry is a blend of grass seeds, mulch, water, and fertilizer, creating an ideal environment for seed germination.
The Hydroseeding Process
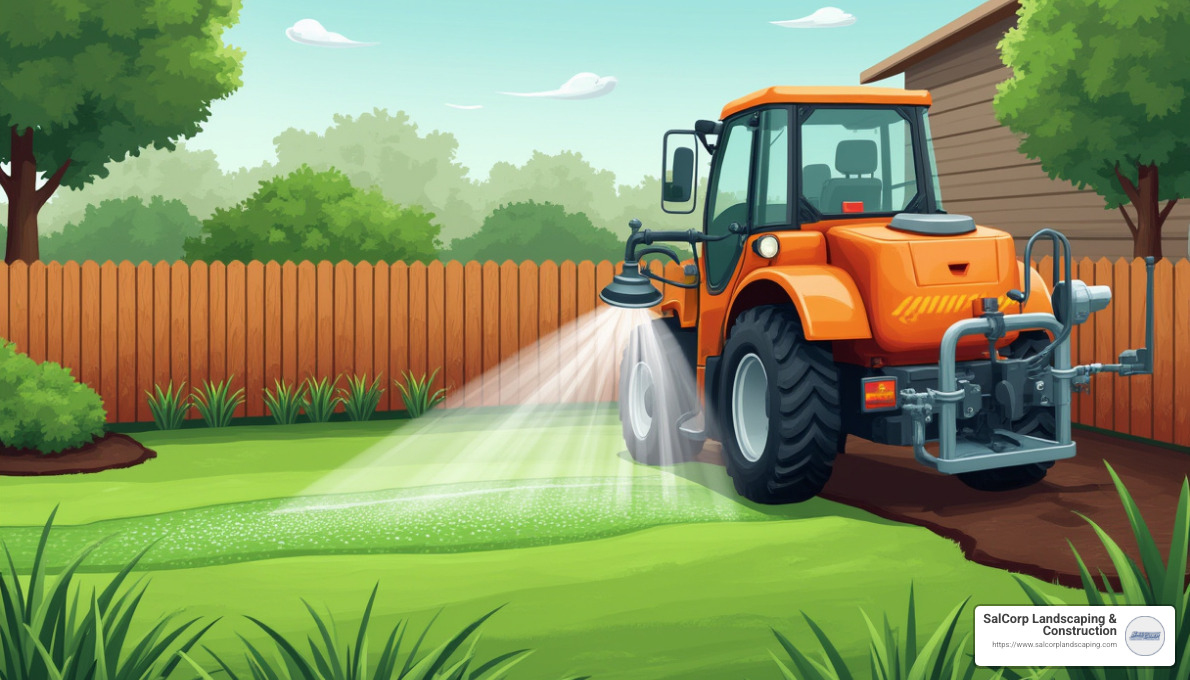
The process begins with preparing the soil. Once the ground is ready, a specialized machine sprays the slurry evenly over the area. This method ensures that the seeds are well-distributed, promoting uniform growth.
Key Steps in the Process:
- Soil Preparation: Clear the area of debris and level the ground.
- Mixing the Slurry: Combine seeds, mulch, water, and fertilizer in a hydroseeder.
- Spraying: Apply the slurry using a hydroseeder to cover the entire lawn area.
Components of the Slurry
The slurry is the heart of do it yourself hydroseeding. Each component plays a crucial role:
- Grass Seeds: Choose seeds suited to your climate for the best results. Options include cool-season grasses like Kentucky bluegrass or warm-season varieties like Bermudagrass.
- Mulch: Helps retain moisture and protects seeds from erosion. Common types include paper mulch for affordability or wood fiber mulch for effectiveness.
- Water: Essential for mixing and activating the slurry, ensuring the seeds adhere to the soil.
- Fertilizer: Provides nutrients that promote rapid germination and healthy growth.
Hydroseeding is not just about spreading seeds—it’s about creating the perfect growing environment. By understanding and utilizing this method, you can achieve a lush lawn efficiently and cost-effectively.
Benefits and Challenges of DIY Hydroseeding
Hydroseeding is a popular method for establishing lush, green lawns quickly. However, like any technique, it has its pros and cons.
Pros of Hydroseeding
Fast Establishment
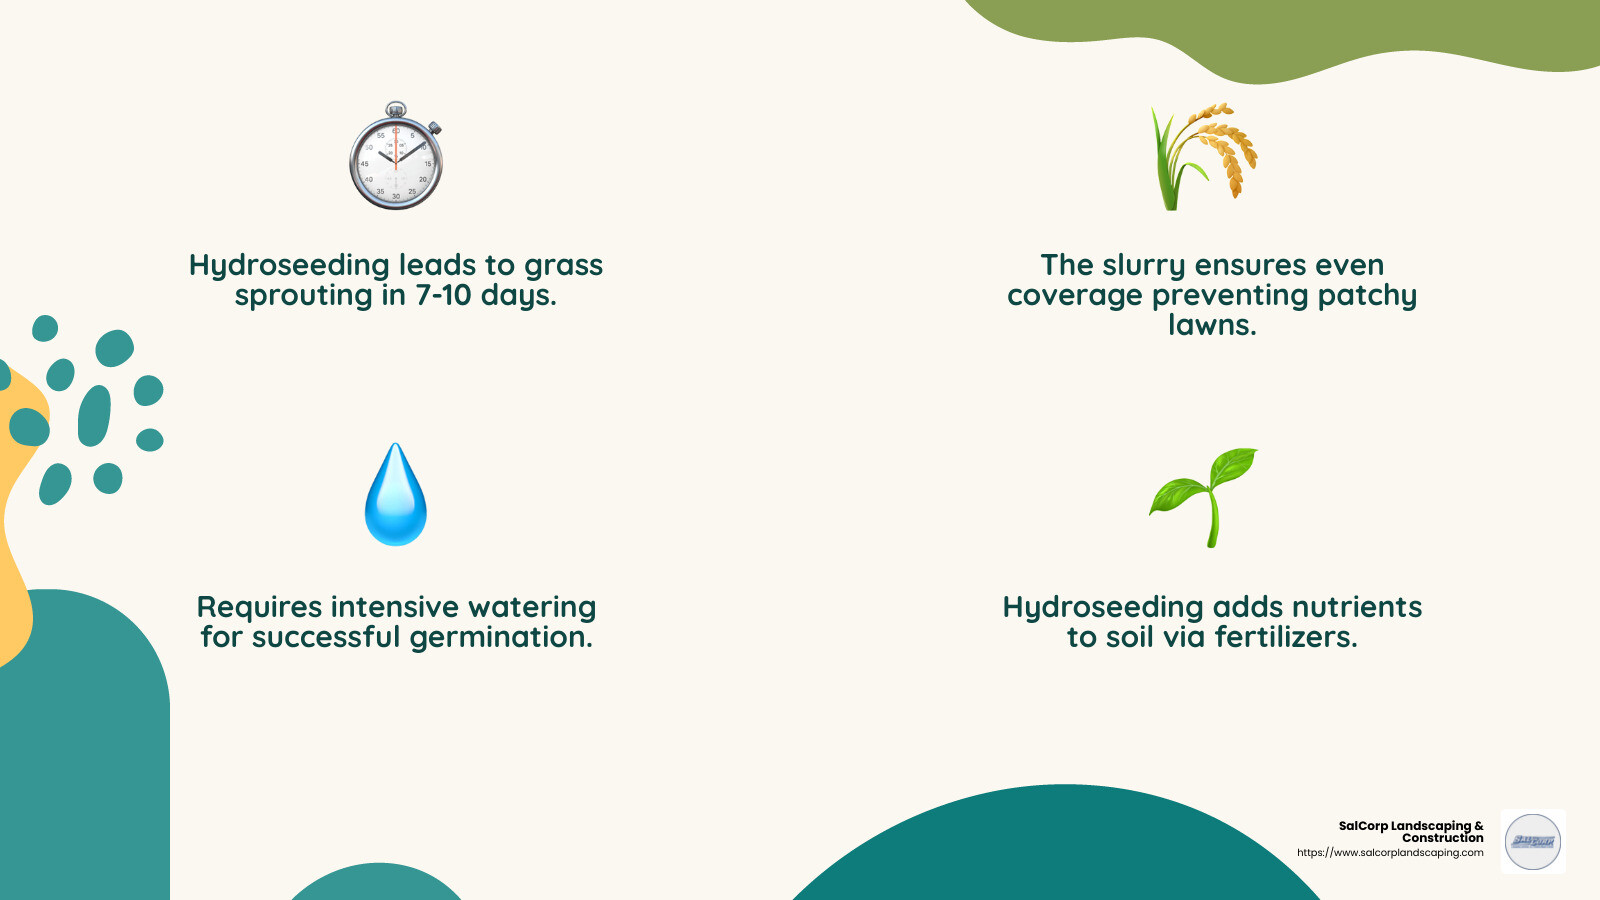
Hydroseeding is renowned for its speed. Grass seeds germinate much faster than traditional methods, often sprouting within 7 to 10 days. This means you can see a green lawn in just a few weeks, rather than waiting months for seeds to take root. This rapid growth is perfect for homeowners eager to enjoy their outdoor spaces sooner rather than later.
Even Coverage
One of the standout benefits of hydroseeding is its ability to provide even coverage. The slurry mixture ensures that seeds are evenly distributed over the soil, preventing patchy growth. This uniformity is crucial for achieving a consistent and visually appealing lawn.
Soil Erosion Prevention
The mulch in the hydroseeding slurry plays a vital role in preventing soil erosion. It acts as a protective layer, holding the soil in place and reducing the impact of wind and water. This is particularly beneficial for sloped areas or regions prone to heavy rain, where erosion can be a significant concern.
Nutrient Provision
The slurry is not just a mix of seeds and water; it includes fertilizers that supply essential nutrients. These nutrients support the young grass as it grows, leading to a healthier and more robust lawn. The decomposing mulch also adds organic matter to the soil, improving its quality over time.
Cons of Hydroseeding
Intensive Watering
While hydroseeding offers fast results, it demands a rigorous watering schedule. For the first few weeks, the lawn needs to be kept consistently moist to ensure successful germination. This can be labor-intensive and may not be ideal for regions with water restrictions or during dry spells.
Less Effective than Sod
Though hydroseeding is faster than traditional seeding, it doesn’t quite match the instant results of sod. Sod provides an immediate green lawn, while hydroseeding requires time for the seeds to grow and fill in. For those looking for an instant change, sod might be a more appealing, albeit more expensive, option.
Hydroseeding is a versatile and effective technique, particularly for those willing to invest time in watering and maintenance. However, it’s crucial to weigh these benefits against the challenges to determine if do it yourself hydroseeding is the right choice for your lawn.
How to Prepare for Hydroseeding
Preparing your lawn for do it yourself hydroseeding is key to achieving the lush, green results you’re dreaming of. Proper preparation ensures that your grass seeds have the best chance to thrive. Here’s how to get started:
Soil Testing
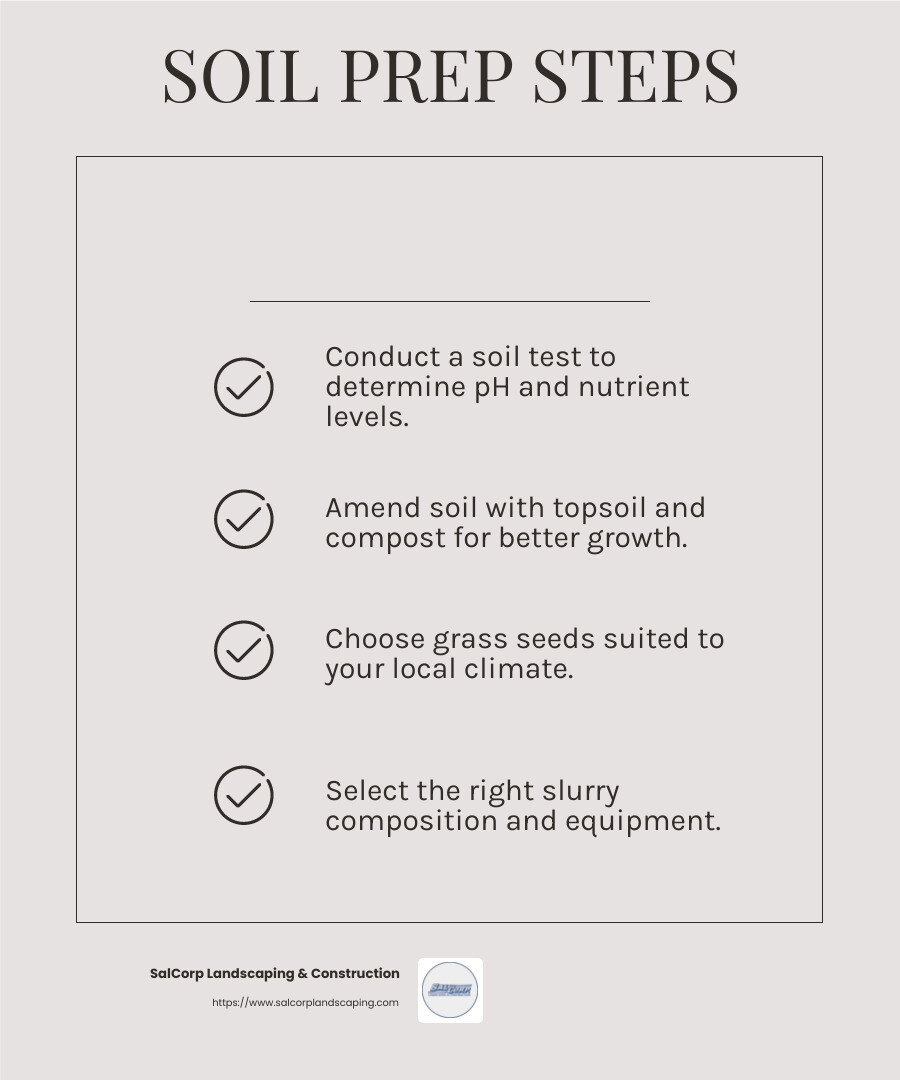
Before you dive into hydroseeding, know what you’re working with. Conduct a soil test to determine your soil’s pH level and nutrient composition. Most grasses grow best in soil with a pH between 6.0 and 7.0. If your soil is too acidic, you’ll need to add lime; if it’s too alkaline, sulfur can help balance it out. A soil test will also reveal any nutrient deficiencies, allowing you to choose the right fertilizer for your slurry.
Soil Amendments
Once you have your soil test results, it’s time to amend the soil. Adding topsoil and compost can significantly improve the soil’s quality by providing essential nutrients and enhancing its structure. Spread about 2 inches of topsoil mixed with compost over the area to be hydroseeded. This mix will give your seeds a nutrient-rich environment to sprout and grow.
Choosing Seeds
Selecting the right grass seeds is crucial. Consider your local climate when choosing between cool-season and warm-season grasses. For example, cool-season grasses are ideal for northern climates, while warm-season grasses thrive in southern areas. You can opt for a single type of grass or a blend custom to your region’s conditions.
Slurry Composition
The hydroseeding slurry is a mix of seeds, mulch, fertilizer, and water. Mulch types vary, with wood fiber being highly effective but costlier, and paper mulch being more economical but less efficient. For DIY projects, a blend of both can be a good balance. Add fertilizer to supply nutrients and consider using a green dye in your slurry for better visibility during application.
Machine Selection
If you’re covering a large area, renting a hydroseeding machine is a smart move. These machines ensure an even application and keep the slurry well-mixed. For smaller areas, a hydroseeding kit available online or at home improvement stores may suffice. These kits come with easy-to-use canisters for mixing and spraying the slurry.
By taking the time to properly prepare your soil and choose the right components for your slurry, you’ll set the stage for a successful hydroseeding project. Next, we’ll dive into the step-by-step guide to executing your DIY hydroseeding.
Step-by-Step Guide to DIY Hydroseeding
Step 1: Clear and Prepare the Soil
Before you start with do it yourself hydroseeding, ensure your lawn is a blank canvas. Begin by removing any weeds. You want your grass seeds to have no competition for nutrients. Use a hoe or weed puller to uproot them completely.
Next, clear away any debris like rocks, branches, or toys. This step prevents obstacles from interfering with the slurry application.
Finally, mow any existing grass as short as possible. This helps the hydroseed slurry to make direct contact with the soil.
Step 2: Soil Grading and Improvement
Topsoil application is crucial for providing a nutrient-rich base. Spread about 2 inches of topsoil over your cleared area. Mix in compost to improve soil fertility and structure.
After applying topsoil and compost, it’s time for soil leveling. Use a rake or yard leveler to smooth the surface. A flat, even surface ensures your hydroseeding slurry spreads uniformly.
Step 3: Mix Your Hydroseed Slurry
The slurry is a blend of seeds, mulch, fertilizer, and water. Here’s a quick breakdown:
- Mulch types: Wood fiber is effective but pricey. Paper mulch is cheaper but less efficient. A blend offers a good balance for DIYers.
- Seed selection: Choose seeds suited to your climate—cool-season for northern areas and warm-season for southern locales.
- Fertilizer ratios: Follow your soil test results to determine the right fertilizer. Generally, 25 pounds per 500 gallons of water is a good start.
- Water mixing: Fill your hydroseeder about ¾ full with water before adding other ingredients. This helps everything mix evenly.
Step 4: Hydroseeding Application Techniques
When it comes to spraying, technique is everything. Keep the nozzle at least 3 inches from the ground and move slowly to ensure even coverage. Overlap slightly to avoid bare patches.
For equipment handling, always follow the manufacturer’s instructions. Wear protective gear like gloves and goggles, especially if you’re using a larger machine.
Step 5: Post-Hydroseeding Care
Your new lawn needs diligent care to thrive. Follow a strict watering schedule: water lightly but frequently for the first few weeks to keep the soil moist.
Traffic management is also key. Avoid walking or letting pets on the lawn until it’s well-established—usually about two months.
Lastly, adhere to mowing guidelines. Wait until the grass reaches about 3 inches in height before the first mow. This helps the roots establish firmly in the soil.
With these steps, your DIY hydroseeding project is well on its way to success. Next, we’ll address some frequently asked questions about DIY hydroseeding.
Frequently Asked Questions about DIY Hydroseeding
Can I hydroseed with a garden hose?
Yes, you can use a garden hose for do it yourself hydroseeding, but it’s not the most efficient method. You’ll need a large tank to mix your slurry and a pump to push it through the hose. While this setup can work for small areas, it might not provide the even coverage you need for larger lawns. If you’re tackling a big project, consider renting a professional hydroseeder for better results.
Do I need to add topsoil before hydroseeding?
Adding topsoil is highly recommended. It creates a nutrient-rich layer that helps grass roots establish more effectively. Without topsoil, your hydroseed might struggle to take root, especially if your existing soil is poor in quality. For optimal growth, mix in some compost with the topsoil to improve fertility and structure. This preparation is key to a successful hydroseeding project.
Will hydroseed grow on hard ground?
Hydroseed needs good seed-to-soil contact to germinate effectively. If the ground is hard, the seeds may not be able to penetrate and establish roots. It’s crucial to loosen the soil before applying the slurry. You can do this by tilling or aerating the area. This step ensures the seeds can settle into the soil, promoting better growth and reducing the risk of failure.
With these FAQs in mind, you’re now better equipped to handle any challenges that come your way during your DIY hydroseeding trip.
Conclusion
Hydroseeding offers long-term benefits that make it an attractive option for creating lush, green lawns. One of the most significant advantages is the speed at which grass establishes itself compared to traditional seeding methods. With proper care, you’ll see your lawn transform quickly, providing a vibrant and healthy landscape.
Another benefit is the even coverage that hydroseeding provides. The slurry application ensures that seeds are uniformly distributed, reducing the likelihood of patchy areas. This method also helps prevent soil erosion, as the mulch in the slurry stabilizes the soil and retains moisture, promoting healthier grass growth.
While do it yourself hydroseeding requires some effort, the cost savings and satisfaction of creating your own beautiful lawn can be rewarding. However, if you prefer a professional touch, SalCorp Landscaping & Construction is here to help. With over 20 years of experience, we specialize in landscape design and hydroseeding services throughout various communities in Massachusetts.
Our expertise ensures that your lawn is not only aesthetically pleasing but also sustainable in the long run. We use high-quality seeds, mulch, and fertilizers to guarantee success. Whether you decide to tackle the project yourself or hire us, hydroseeding is a fantastic way to achieve a lush, green lawn that you can enjoy for years to come.
For those ready to transform their landscapes, contact SalCorp today. Let us be your trusted partner in creating the perfect outdoor space.
