

Installing New Sprinkler System: 10 Best Pro Tips 2025

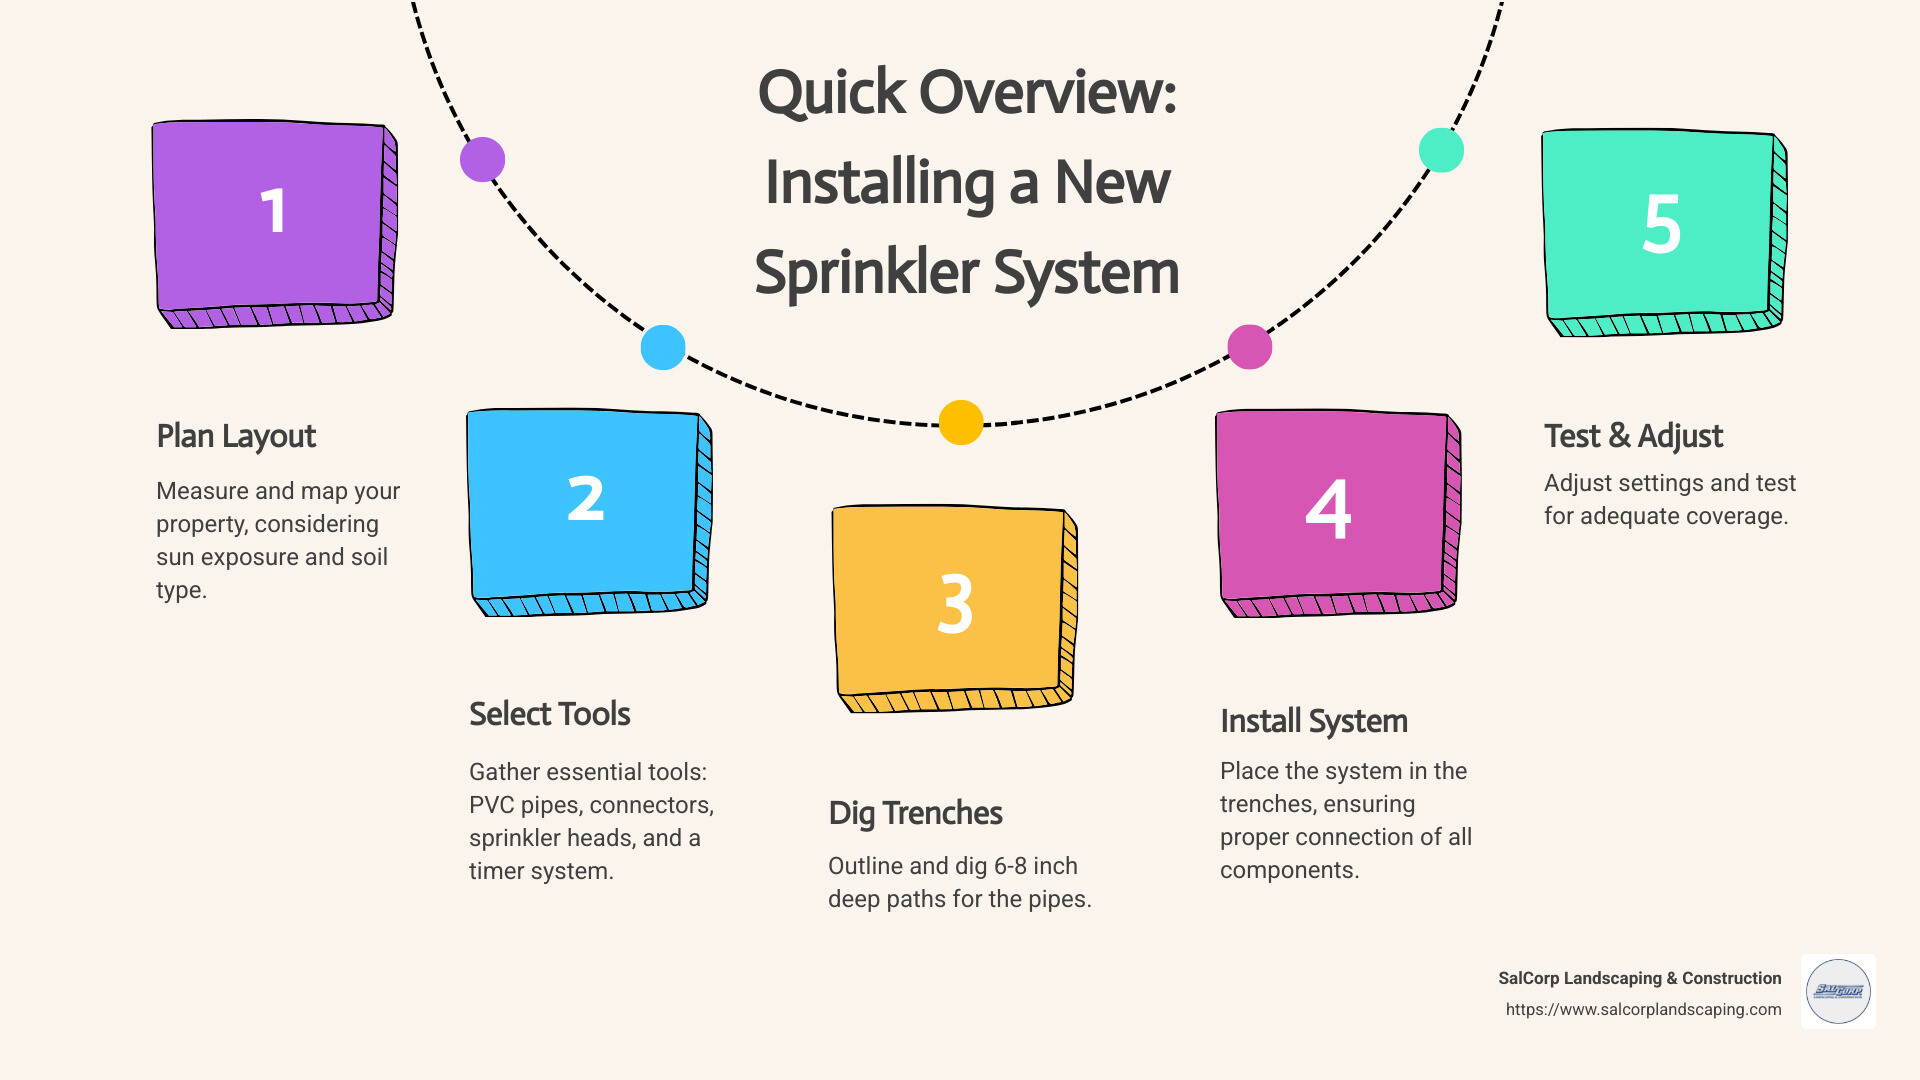
Installing new sprinkler system setups can refresh your landscape with precision watering. Here’s a quick overview of the process for those short on time:
- Plan Your Layout: Measure and map your property, taking note of sun exposure and soil type.
- Select Your Tools: PVC pipes, connectors, sprinkler heads, and a timer system are essential.
- Dig Trenches: Outline and dig 6-8 inch deep paths for the pipes.
- Install & Test: Place the system in the trenches, then adjust and test for coverage.
Planning ahead is crucial when installing new sprinkler system setups. You’ll optimize water usage and maintain a lush lawn while minimizing costs and erosion. DIY installations not only bring satisfaction but also allow for personalized, efficient watering systems custom to your property’s unique needs. By carefully designing your system, you can ensure water conservation – a fundamental benefit to our environment.
I’m Sal Musto, dedicated to helping you achieve the perfect landscape. With over two decades of expertise in installing new sprinkler system setups, I’ve transformed outdoor spaces across Massachusetts. Let’s continue, exploring the vital preparations necessary to ensure your system operates efficiently and sustainably.
Preparing for Your Sprinkler System
Before diving into the physical installation of your sprinkler system, it’s crucial to prepare thoroughly. This groundwork ensures your system operates efficiently and complies with local regulations. Let’s break down the key components you’ll need to consider:
Water Pressure
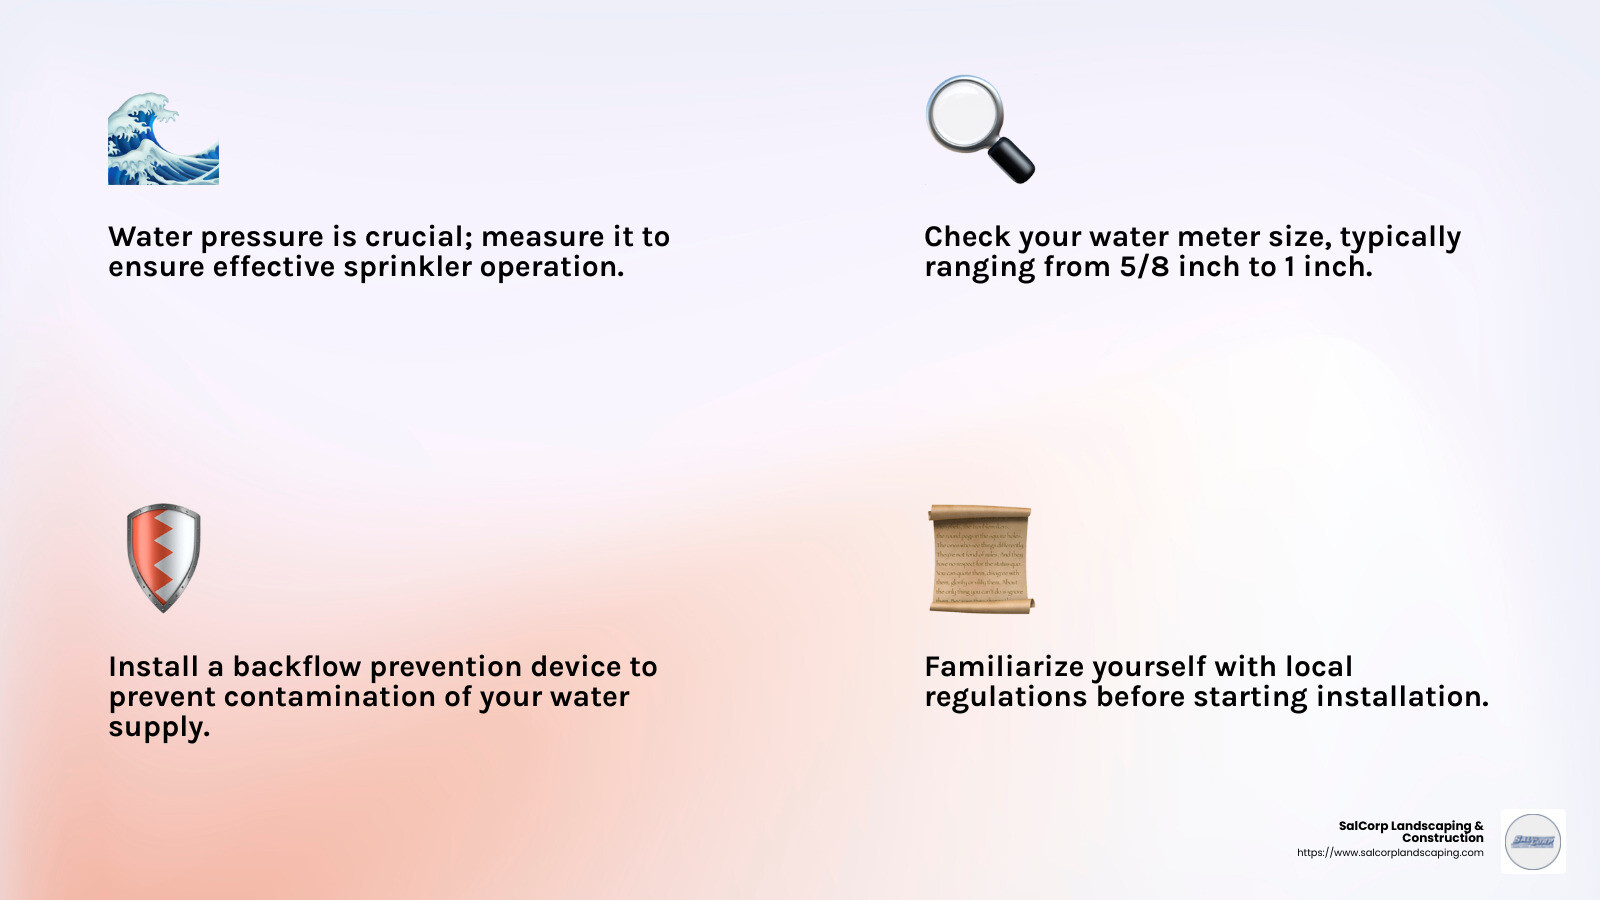
Understanding your home’s water pressure is essential. Water pressure, measured in pounds per square inch (PSI), affects how well your sprinklers operate. You’ll need a pressure gauge to get an accurate reading. Attach it to an outdoor faucet and ensure all other faucets are off for a precise measurement. If you prefer, you can contact your local water provider for an average pressure reading, but remember, this may not reflect your specific situation.
Water Meter Size
Your water meter size influences the flow rate and pressure your system can handle. For those on municipal water, check the meter for size markings, typically ranging from 5/8 inch to 1 inch. If you’re using a well, refer to your pump’s specifications. Getting this right is key to choosing the correct components for your system.
Service Line Size
Matching your irrigation pipe size to your service line is crucial for optimal flow. Use a string to measure the circumference of your water pipe. Then, compare it to a sizing chart to determine the diameter. This ensures your system can handle the water volume without causing pressure drops.
Flow Rate
The flow rate, measured in gallons per minute (GPM), determines how many sprinkler heads you can run at once. To calculate it, fill a container with water from your spigot and time how long it takes. Divide the container size by the time in seconds, then multiply by 60. This gives you your GPM.
Backflow Prevention
Installing a backflow prevention device is vital to protect your water supply from contamination. Most municipalities require this device, which prevents water from flowing backward into your supply. Check local regulations to ensure you choose the right type for your area.
Local Regulations
Before you start digging, familiarize yourself with local regulations. Some areas require permits for sprinkler systems, and others may have specific rules about water usage and backflow prevention. Always call 811 to check for underground utilities before you begin any excavation. Compliance ensures a smooth installation and avoids potential fines.
By addressing these components, you’re setting the stage for a successful sprinkler system installation. Next, we’ll dig into mapping and planning your system to ensure every part of your yard gets the water it needs.
Mapping and Planning Your Sprinkler System
Once you’ve prepared by understanding your water system, it’s time to move on to mapping and planning your sprinkler system. This step ensures that every inch of your property gets the right amount of water, avoiding dry patches and overwatering.
Property Layout
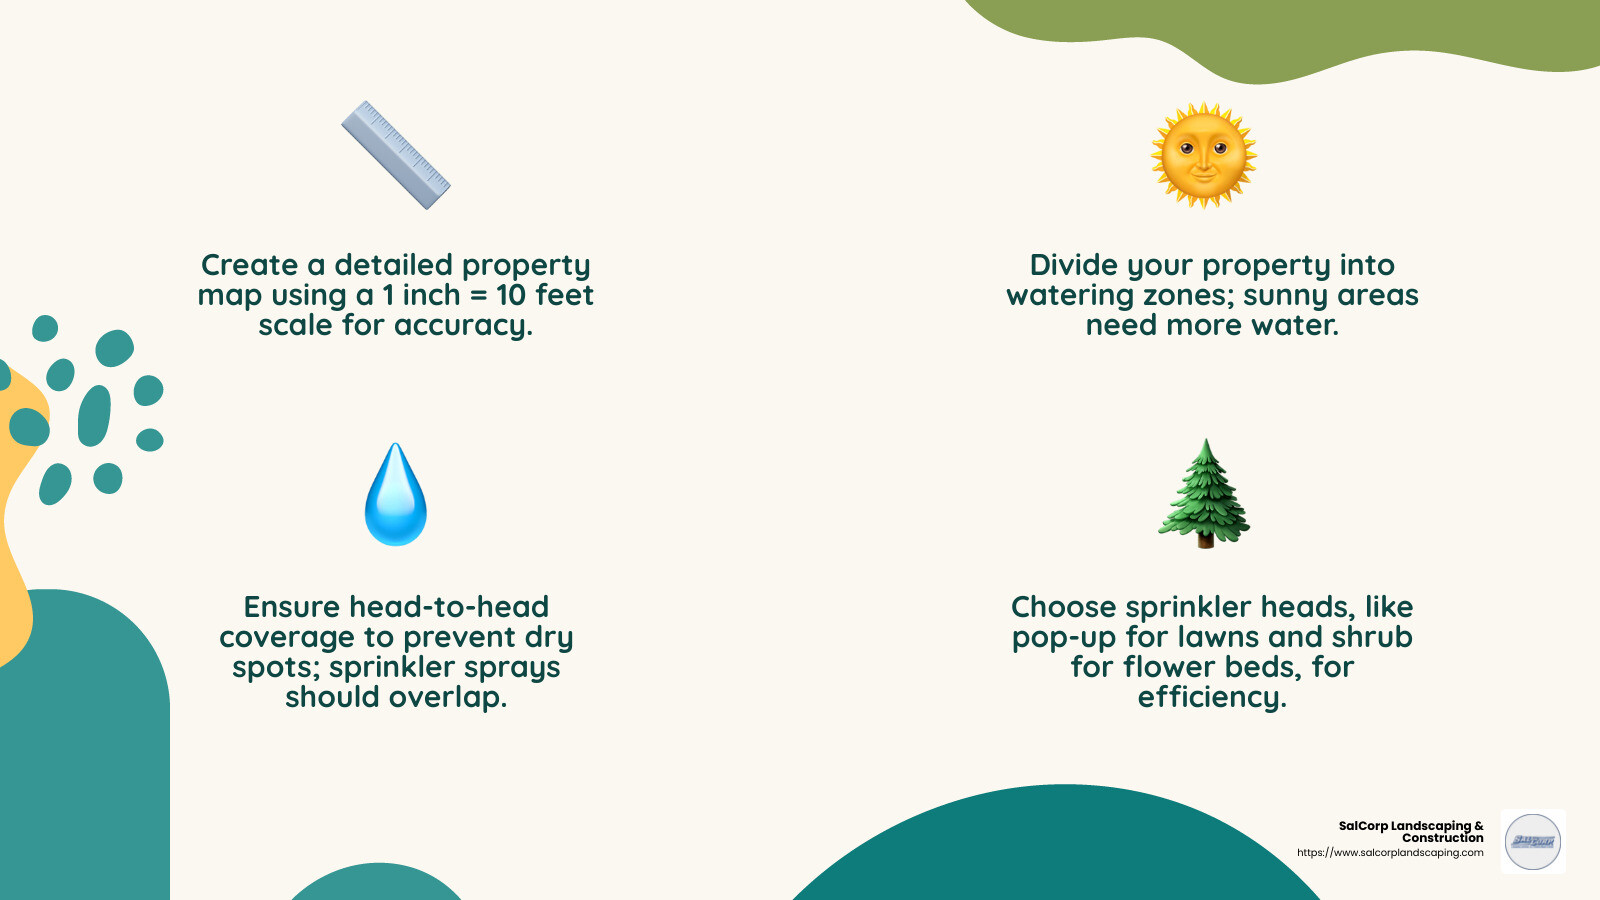
Start by creating a detailed map of your property. Use graph paper with a scale of 1 inch = 10 feet for accuracy. Mark all permanent features like your house, sidewalks, trees, and flower beds. This map will help determine where each component of your sprinkler system will go.
Watering Zones
Divide your property into watering zones. Each zone should have similar watering needs. For instance, sunny areas might need more water than shaded ones. The slope of your yard also affects water distribution, as water pressure decreases with elevation. Creating multiple zones helps manage these differences effectively.
Sprinkler Head Types
Choosing the right sprinkler head type is crucial. Pop-up sprinklers are great for lawns as they retract when not in use, protecting them from damage. Shrub sprinklers are taller and ideal for flower beds. Ensure each zone uses the same type of sprinkler head to maintain efficiency. Mixing types can lead to uneven watering.
Manifold Location
The manifold is the heart of your system, controlling the flow of water to each zone. Place it in an inconspicuous spot near your water supply line. This helps in easy access for maintenance and keeps the aesthetic of your landscape intact.
Head-to-Head Coverage
To ensure 100% coverage, plan for head-to-head coverage. This means the spray from one sprinkler head should reach the next, creating an overlap. This overlap prevents dry spots and ensures every part of your lawn receives adequate water.
By carefully mapping and planning your sprinkler system, you’ll set the groundwork for a lush, green landscape. Next, we’ll dive into the step-by-step instructions for installing your new sprinkler system.
Installing New Sprinkler System: Step-by-Step Instructions
Step 1: Digging Trenches
Start by marking the locations for your trenches and sprinkler heads using wooden stakes or plastic flags. This will guide you as you dig. For the digging itself, a trenching machine can be a real time-saver. You can rent one from most local equipment rental stores.
Trench Depth: Dig trenches 4 to 12 inches deep, depending on your local climate and soil conditions. This depth protects your pipes from damage and freezing.
Step 2: Making the Water Connection
Locate your main water line. Turn off the water supply at the meter. Use a tee fitting to splice into the water line. For PVC pipes, use PVC cement to secure the fittings. If your main line is copper, you’ll need to solder a copper tee.
Pro Tip: If you’re not confident in this step, consider hiring a professional plumber to ensure a leak-free connection.
Step 3: Installing Zone Valves
Dig a trench leading from the main water line to where you want your valve box. The valve box should sit flush with the ground. Inside, assemble your manifold and attach the zone valves. Connect these to a backflow-prevention device to keep your water supply safe.
Run underground wire from the valves to where you plan to install your timer.
Step 4: Laying Pipes
Lay out your PVC pipes in the trenches according to your plan. Use couplings to join sections of pipe where needed. At each point where a sprinkler head will be installed, use a tee fitting to attach a short length of flexible piping.
For areas needing drip irrigation, connect drip-irrigation tubing with a pressure reducer and a microfilter.
Step 5: Connecting Pipes at the Valve Box
Use 90-degree elbows to join the pipes running through your trenches to the pipes protruding from the valve box. Once connected, turn on the water briefly to flush the system of any dirt or debris.
Step 6: Installing Pop-Up Sprinklers
Attach pop-up sprinkler heads to the ends of the flexible piping. No glue is needed; just push the barbed fitting into the pipe. Remove the cap from each sprinkler and install the appropriate spray nozzles.
Step 7: Rolling Out Irrigation
In flower beds, connect drip-irrigation tubing to the pressure reducer. Roll the tubing along the base of the plants, spacing it 12 inches apart. Use end clamps to secure the ends.
Step 8: Installing Ground Stakes
Use plastic ground stakes to secure the drip tubing in place. This keeps the tubing from shifting over time. Cover the area with bark mulch to help retain moisture.
Step 9: Connecting Timer Wires
Mount your programmable timer on a wall near the valve box. Connect the 24-volt wires from the timer to the wires from each zone valve. If you’re not comfortable working with electricity, hire a licensed electrician for this step.
Step 10: Testing and Adjusting
Turn on the system and test each zone. Check that all sprinklers are spraying in the right direction and adjust the nozzles as needed. Ensure there are no leaks in the system and that each zone is receiving adequate water coverage.
With these steps, your installing new sprinkler system project is well on its way to keeping your lawn lush and healthy. Next, we’ll discuss common mistakes to avoid during installation.
Common Mistakes to Avoid When Installing New Sprinkler System
Installing a new sprinkler system can be a rewarding DIY project, but it’s crucial to avoid some common pitfalls. Here are the top mistakes to watch out for:
Improper Planning
Skipping the Plan: Jumping into installation without a clear plan can lead to inefficient water coverage and wasted resources. Always start with a detailed map of your property, marking out zones and sprinkler head locations. Each zone should be designed based on the landscape’s unique features and your water supply’s capacity.
Zone Mismanagement: Not creating enough zones or overextending zones can lead to uneven watering. Each zone should have its own control valve and be custom to specific landscape needs. Tip: Consider the GPM (gallons per minute) your system can support when determining the number of zones.
Insufficient Sprinkler Heads
Sparse Coverage: Installing too few sprinkler heads can leave dry spots in your lawn. Ensure head-to-head coverage by spacing sprinkler heads so that each one’s spray reaches the next. This overlap prevents areas from being under-watered.
Ignoring Obstructions: Features like trees, fences, and slopes can block water flow. Adjust head placement to account for these obstacles and ensure every part of your landscape receives adequate water.
Inappropriate Sprinkler Head Choice
Wrong Type: Using the wrong type of sprinkler head for a specific area can lead to inefficient watering. For example, pop-up sprinklers are ideal for lawns, while taller shrub sprinklers work best in flower beds. Tip: Match the sprinkler head type to the area’s needs to optimize water use.
Mixing Head Types: Mixing different types of sprinkler heads in one zone can cause uneven water distribution. Stick to one type of head per zone for consistent performance.
Lack of Backflow Preventer
Ignoring Safety: Not installing a backflow-prevention device can contaminate your household water supply. This device stops water from flowing backward into your home, keeping your drinking water safe. Pro Tip: Always include a backflow preventer in your system, and ensure it’s installed correctly.
By avoiding these common mistakes, your new sprinkler system will function efficiently and keep your landscape healthy. Next, we’ll explore the best products to use for a successful installation.
Recommended Products for Sprinkler System Installation
When installing a new sprinkler system, choosing the right products is key to ensuring efficiency and durability. Here are some essential components to consider:
Sprinkler Heads
Pop-Up Sprinklers: Ideal for lawns, these heads remain below the ground when not in use, preventing damage from mowers or foot traffic. Choose adjustable pop-up heads to tailor the spray pattern to your lawn’s shape.
Shrub Sprinklers: These taller heads are perfect for flower beds and shrubbery areas. They provide the height needed to water over taller plants.
Pro Tip: Avoid mixing different sprinkler head types within the same zone to ensure consistent water distribution.
Valves
Zone Control Valves: Each watering zone needs its own control valve. These valves regulate water flow to the zone and are crucial for efficient system operation.
Backflow-Prevention Device: A must-have for any sprinkler system to protect your household water supply from contamination. This device ensures that water flows in one direction, preventing any backflow into your drinking water.
Valve Boxes
Valve Boxes: These protect your valves from the elements and make them easy to access for maintenance. Choose a sturdy, weather-resistant box that can withstand the outdoor environment.
Installation Tip: Place valve boxes in inconspicuous yet accessible locations to maintain the aesthetics of your landscape while allowing for easy servicing.
Programmable Timers
Programmable Timers: These devices automate your watering schedule, ensuring your landscape receives the right amount of water at the right times. Look for timers with multiple settings to accommodate different zones and seasonal changes.
Smart Timers: Consider upgrading to a smart timer that can connect to Wi-Fi. These timers allow you to control your system remotely and can even adjust watering schedules based on weather forecasts.
By selecting high-quality components, you can ensure your sprinkler system operates smoothly and efficiently. Next, we’ll address some frequently asked questions about installing a new sprinkler system.
Frequently Asked Questions about Installing New Sprinkler System
Can I install a sprinkler system myself?
Yes, you can! Installing a new sprinkler system is a feasible DIY project, especially if you enjoy hands-on tasks. However, it’s important to note that this project requires time, effort, and some basic tools. The size of your yard plays a significant role in determining the complexity of the installation. Larger yards will require more planning and additional components, like extra sprinkler heads and longer pipes.
If you’re comfortable with tasks like digging, connecting pipes, and setting up timers, you can save on labor costs by doing it yourself. Just remember to plan thoroughly and follow step-by-step instructions to ensure a successful installation.
What time of year should you install a sprinkler system?
The ideal time to install a sprinkler system is during the fall. This season offers several advantages. The cooler temperatures make it more comfortable to work outside, and the soil is often easier to dig compared to the hot summer months. Also, fall installation can prepare your yard for the next growing season, allowing new trees and plants to establish roots with the help of consistent watering.
Installing in the fall also means your system will be ready to go when spring arrives, ensuring your landscape gets the water it needs to thrive right from the start.
Is it worth it to install a sprinkler system?
Absolutely! Installing a new sprinkler system offers numerous benefits that make it a worthwhile investment. First, it saves you time. With an automated system, you won’t have to spend hours manually watering your lawn and plants. Plus, a programmable timer ensures your landscape gets the right amount of water at the right times, promoting healthy growth.
A well-designed sprinkler system also contributes to water conservation. By targeting specific zones and using efficient watering techniques, you can reduce water waste and lower your utility bills.
Finally, a lush, well-maintained landscape improves your home’s curb appeal, potentially increasing its value. With a sprinkler system, you can maintain a vibrant and attractive outdoor space with minimal effort.
These advantages make installing a sprinkler system a smart choice for homeowners looking to improve their landscape efficiently.
Conclusion
At SalCorp Landscaping & Construction, we understand that installing a new sprinkler system can be a daunting task, especially if you’re doing it for the first time. While this project is certainly achievable as a DIY endeavor, sometimes professional assistance can make all the difference.
Why Choose SalCorp?
With over 20 years of experience, our team offers comprehensive outdoor solutions custom to your specific needs. We specialize in landscape design and have the expertise to ensure that your sprinkler system is installed correctly and efficiently. Our owner-operated business model means you get personalized service from start to finish, ensuring that every detail aligns with your vision.
Comprehensive Outdoor Solutions
We don’t just stop at sprinkler systems. Our services extend to all aspects of landscape design and hardscaping, making us a one-stop shop for changing your outdoor space. Whether you need a new patio, a fire pit, or an neat water feature, SalCorp Landscaping & Construction has you covered. Our commitment to using the latest equipment and environmentally friendly practices ensures that your landscape is both beautiful and sustainable.
Professional Assistance
If you’re unsure about any part of the installation process, or if you simply prefer to leave it to the experts, our team is ready to help. We offer professional installation services that guarantee a perfectly functioning sprinkler system. By choosing SalCorp, you can rest easy knowing that your landscape will receive the care and attention it deserves.
Ready to improve your outdoor space? Contact us today to discuss how we can bring your landscape dreams to life with our expert craftsmanship and innovative designs. At SalCorp Landscaping & Construction, we’re not just installing sprinklers; we’re creating lasting impressions.
