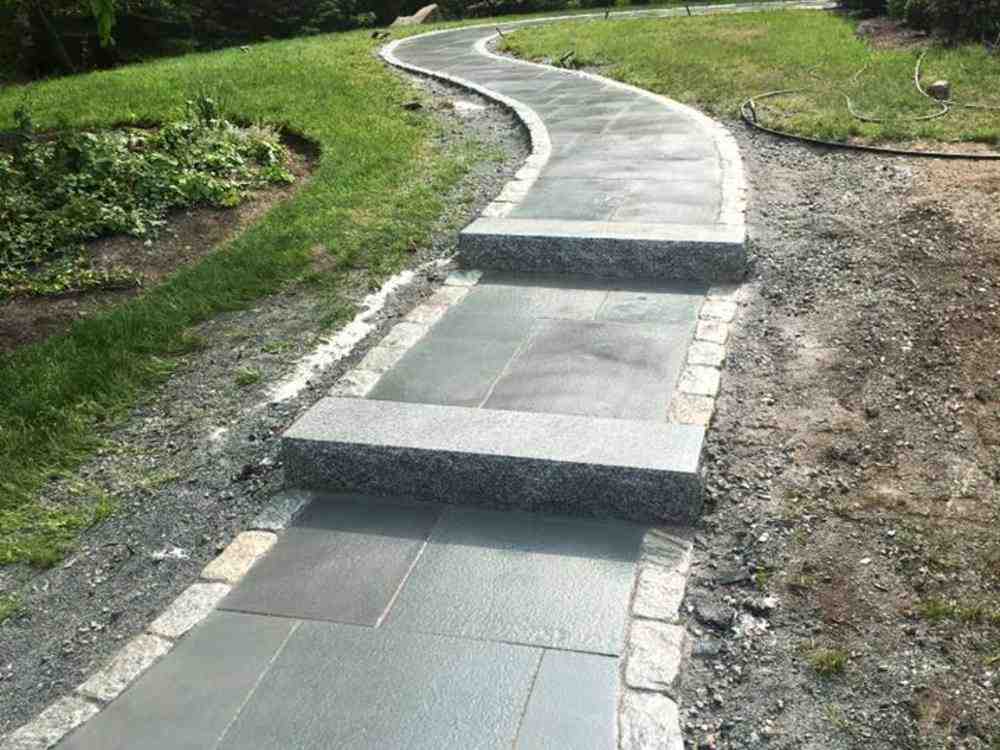
How to build a stone retaining wall: 6 Simple Steps
Why Stone Retaining Walls Transform Your Property
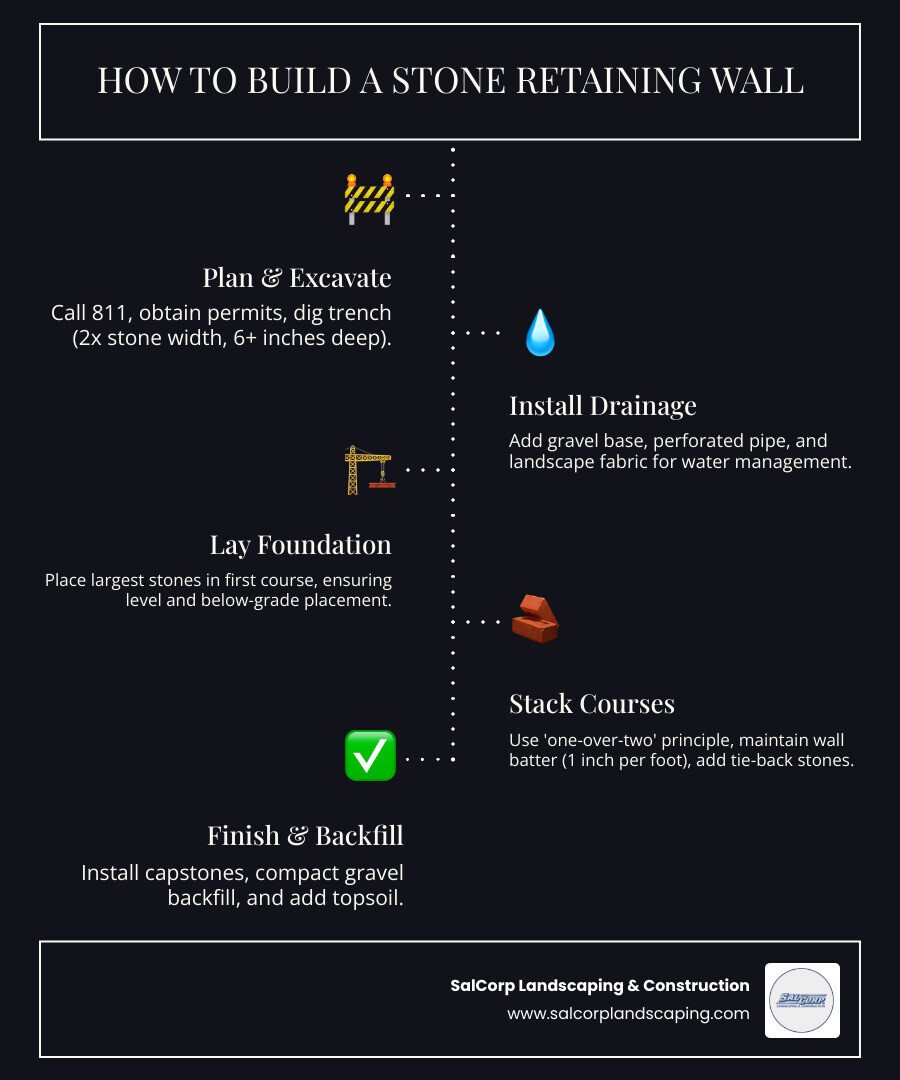
How to build a stone retaining wall is a common question for property owners dealing with sloped terrain or soil erosion. The process involves five key steps:
- Plan and excavate – Call 811, get permits, and dig a proper trench.
- Install drainage – Add a gravel base, perforated pipe, and landscape fabric.
- Lay the foundation – Place the largest stones for the first course, ensuring it’s level.
- Stack stones – Use the “one-over-two” principle and maintain a proper batter.
- Finish and backfill – Install capstones and add gravel backfill and topsoil.
Stone retaining walls prevent erosion while creating usable space. Proper construction is critical: research shows a 4-foot-high, 15-foot-long wall can hold back as much as 20 tons of saturated soil. Beyond function, natural stone has a timeless appeal. A well-built wall can last for decades, even centuries, making it a valuable long-term investment.
Poor drainage is the leading cause of wall failure. Water buildup creates immense hydrostatic pressure that can topple walls. This is why a complete drainage system is an essential component, not an optional extra.
I’m Sal Musto, owner of SalCorp Landscaping & Construction. With over two decades of experience in Massachusetts, I know that building a stone retaining wall that lasts depends on solid planning, quality materials, and meticulous drainage.
How to build a stone retaining wall terms to learn:
Before You Dig: Planning Your Project
This phase is the foundation of your foundation. Successful stone wall construction starts with thorough planning. Skipping these steps can lead to permit violations, damaged utilities, or wall failure.
Preliminary Checks and Permits
Your first call should be to 811, the national “Call Before You Dig” hotline. This free service marks underground utilities. Hitting a gas or water line is a dangerous and expensive mistake.
Next, check local building codes. Permit requirements vary dramatically by location and wall height. Most towns have a 3 to 4-foot height limit for unpermitted walls. In Massachusetts, walls over 4 feet typically require a building permit and engineered plans. Always check your local rules, as some areas require permits for any retaining structure.
Also, review your Homeowners Association (HOA) rules and verify property lines to avoid disputes.
Dry-Stack vs. Mortared: Which is Right for You?
You have two main choices: dry-stack or mortared.
Dry-stack walls are built without mortar, relying on stone weight and friction. They are DIY-friendly for walls under 3 feet. Their flexibility allows them to handle ground movement and frost heave without cracking, and the gaps provide natural drainage, preventing hydrostatic pressure. The trade-off is that they require patience to fit stones tightly.
Mortared walls use mortar to bind stones into a rigid barrier. They can support heavier loads but are less forgiving. In climates with freeze-thaw cycles, they need substantial concrete footings to prevent cracking from frost heave.
Here’s a quick comparison:
| Feature | Dry-Stack Wall | Mortared Wall |
|---|---|---|
| Pros | Excellent drainage, flexible, natural aesthetic, DIY-friendly | Very strong, supports heavy loads, permanent in stable climates |
| Cons | Less structural strength for tall walls, stones can shift | Requires footing, prone to cracking, poor drainage leads to failure |
| Skill Level | Intermediate (patience required) | Advanced (mortar mixing, precise leveling) |
| Best Use | Walls under 3 ft, garden beds, natural landscapes | Taller structural walls with professional design |
This guide focuses on dry-stack construction, which is more suitable for most DIY projects.
Designing for Stability: Height and Load
Even a modest wall handles immense forces. For DIY projects, we strongly recommend keeping walls under 3 feet tall. Taller walls significantly increase complexity and failure risk, often requiring professional engineering.
Stability relies on wall batter—a slight backward lean. A good rule of thumb is 1 inch of setback for every foot of height. This angle helps the wall resist soil pressure.
Your trench width should be at least half the total wall height. For the base course, use your largest, heaviest stones. For taller slopes, consider tiered walls, which break up the load. Space upper walls back at least twice the height of the lower wall.
If you’re dealing with challenging slopes, our team has extensive experience creating retaining wall ideas for sloped backyard properties. For technical guidance, the Stone Trust offers excellent resources.
Essential Tools and Materials
Gathering all your tools and materials beforehand saves time.
Essential tools: shovel (round and flat), wheelbarrow, tape measure, stakes and mason’s line, line level, 4-foot level, and a hand tamper. For anything beyond a small wall, consider renting a plate compactor.
Safety gear: Safety glasses and heavy-duty gloves are non-negotiable. A rubber mallet helps seat stones.
Materials: Choose flat, angular natural stone. You’ll also need 3/4-inch crushed gravel for drainage, coarse sand for leveling, and landscape fabric. The hero of the project is a 4-inch perforated drain pipe with a fabric sleeve, which prevents clogs and ensures proper water management.
For more information, see our guide to hardscape material selection. Order 10-20% extra stone to account for waste and adjustments.
How to Build a Stone Retaining Wall: The Core Construction Process
Now it’s time to turn your plan into reality. Building a stone retaining wall requires a methodical approach where each step builds on the last. Patience and attention to detail are key.
Step 1: Excavate and Prepare the Foundation

A strong foundation is everything. Start by marking your wall’s path with stakes and a level mason’s line. This string will guide the front face of your wall.
Dig a trench at least twice the width of your base stones. For 12-inch deep stones, dig a 24-inch wide trench. This provides room for the stone and the drainage layer behind it.
Trench depth is critical. You need to bury at least half the height of your first course of stones, plus space for the gravel base (typically 4-8 inches deep). In frost-prone areas like Massachusetts, burying the entire first course adds significant stability.
Ensure the bottom of the trench is perfectly flat and level. Then, compact the soil with a hand tamper or a rented plate compactor to create a solid base.
Step 2: Install the Gravel Footing and Drainage System
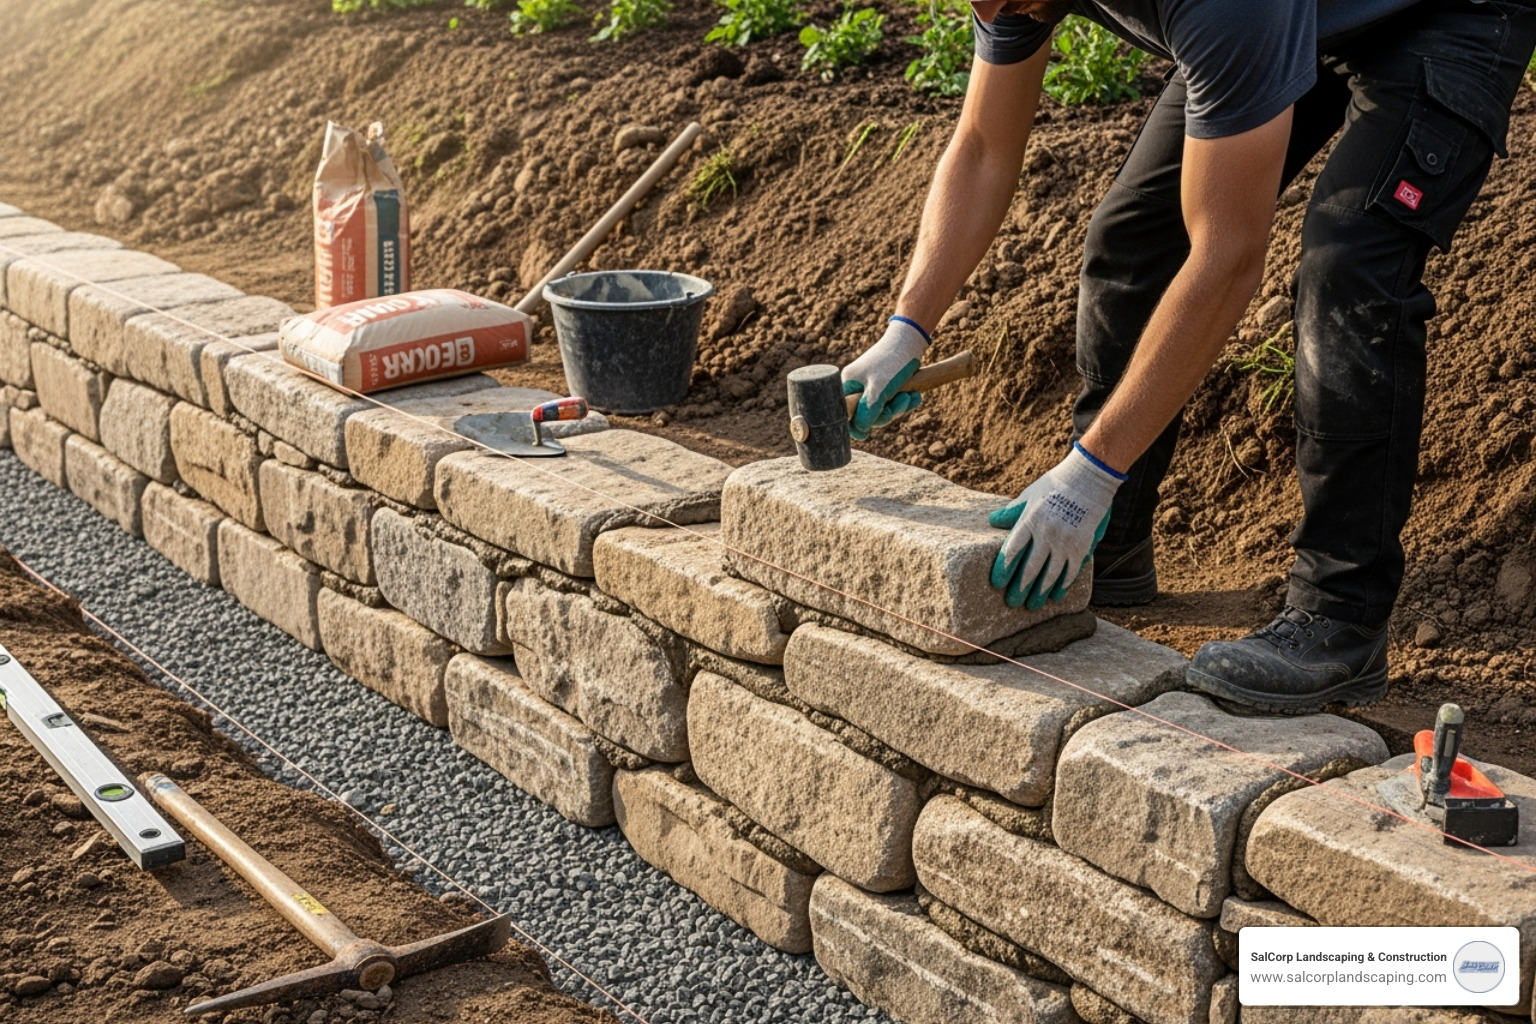
This step prevents the #1 cause of wall failure: poor drainage.
Lay landscape fabric across the bottom and up the back side of the trench. This keeps soil from clogging your drainage gravel.
Next, add your crushed stone base. Use 3/4-inch clear gravel, spreading it in 2-inch layers and compacting each one. A 6-inch deep base is standard, but go deeper for taller walls.
Now, install the perforated drain pipe. Run the 4-inch pipe along the length of the wall, sloping it gently (about 1 inch every 4 feet) toward an outlet. Use a pipe with a fabric sleeve to prevent clogging.
Cover the pipe with more 3/4-inch gravel, creating a drainage layer at least 12 to 14 inches deep behind the wall. This allows water to flow to the pipe instead of pushing against your wall.
Step 3: Laying the First Course
This is the most critical part of the build. A level, stable base ensures the rest of the project goes smoothly.
Select your largest, flattest stones for this base layer. Place them on the compacted gravel, ensuring they align with your string line.
Each stone must be perfectly level, both side-to-side and front-to-back. Use your 4-foot level and a rubber mallet, adjusting the gravel underneath as needed.
Remember to bury at least half of this first course below grade to anchor the wall. Don’t rush this step; the time spent here is a wise investment. For more insights, our block wall builders know the importance of getting the foundation right.
Step 4: Stacking Subsequent Courses
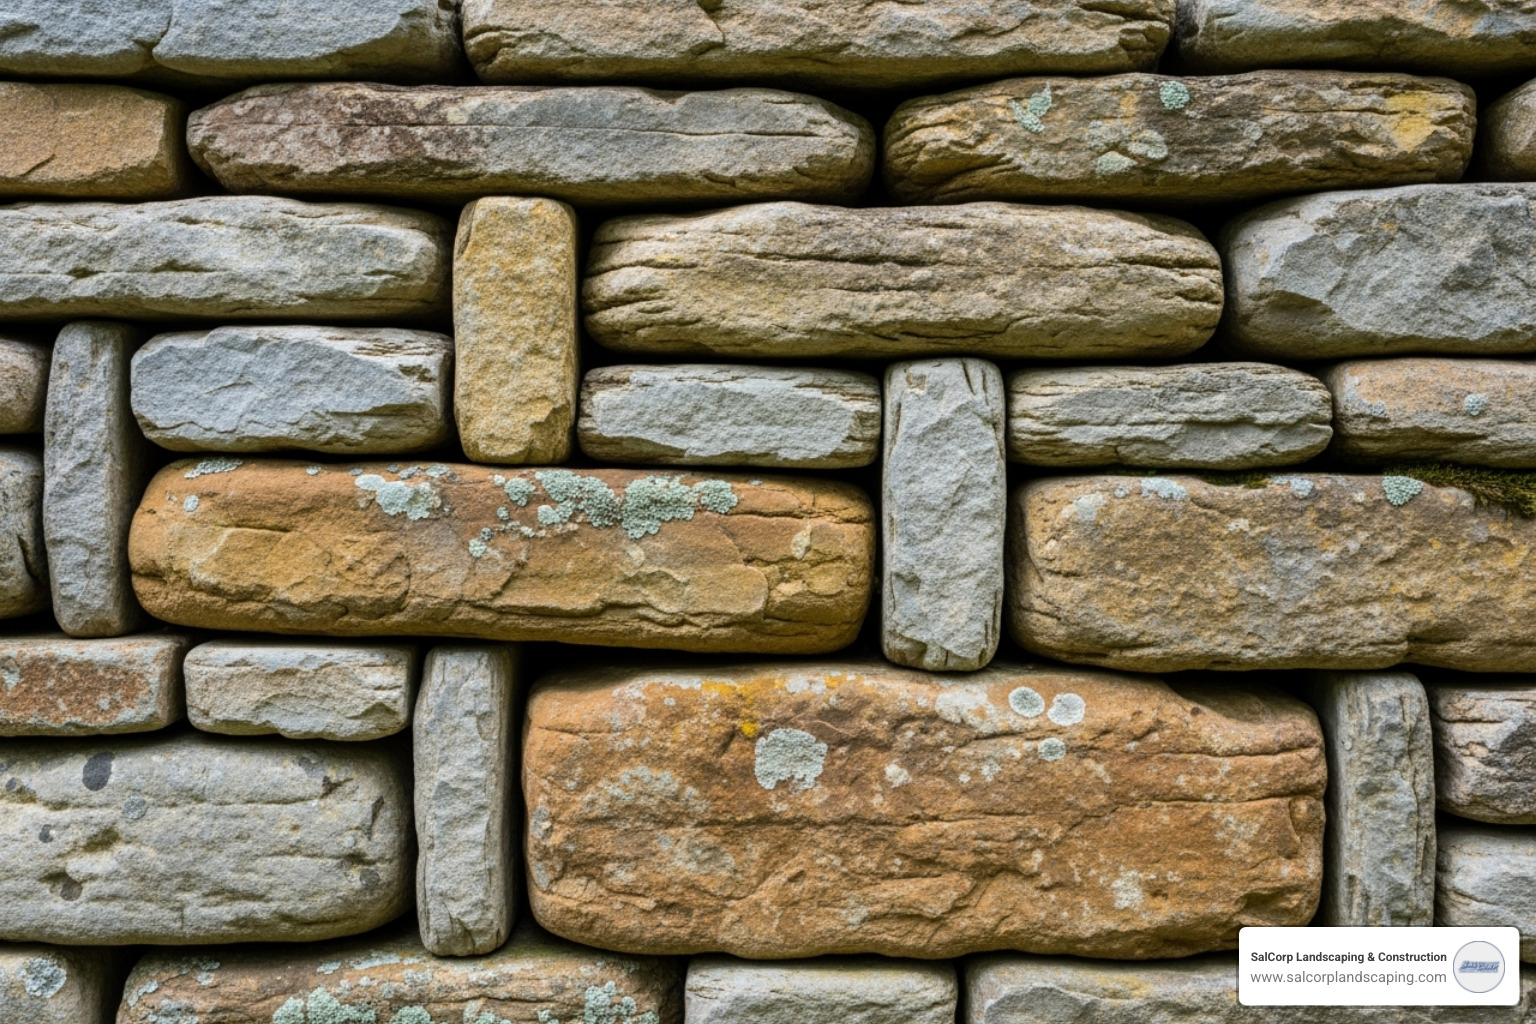
Now your wall will start to take shape. Follow the “one-over-two, two-over-one” principle: each stone should span the joint between two stones below it.
Stagger the joints by at least 4 inches. Never let vertical seams align, as this creates weak points.
As you build, maintain the crucial wall batter by setting each row back about 1/4 inch from the one below. This creates the 1-inch setback for every 12 inches of height, allowing the wall to lean into the hill.
For extra stability, incorporate tie-back stones (or “deadmen”). These longer stones extend back into the slope, anchoring the wall. Place one every 4 horizontal feet.
Step 5: Backfill as You Build
Backfilling is a critical support system, not an afterthought.
Backfill in layers as you build. After every two or three courses, fill the space behind the wall with 3/4-inch clear gravel and compact it thoroughly.
This gravel backfill acts as a drainage highway, channeling water to your perforated pipe. Keep the landscape fabric between the gravel and the native soil. Once at the top, grade the backfill to slope away from the wall.
For larger projects, our excavation services team ensures perfect preparation for optimal drainage and support.
Step 6: Finishing with Capstones
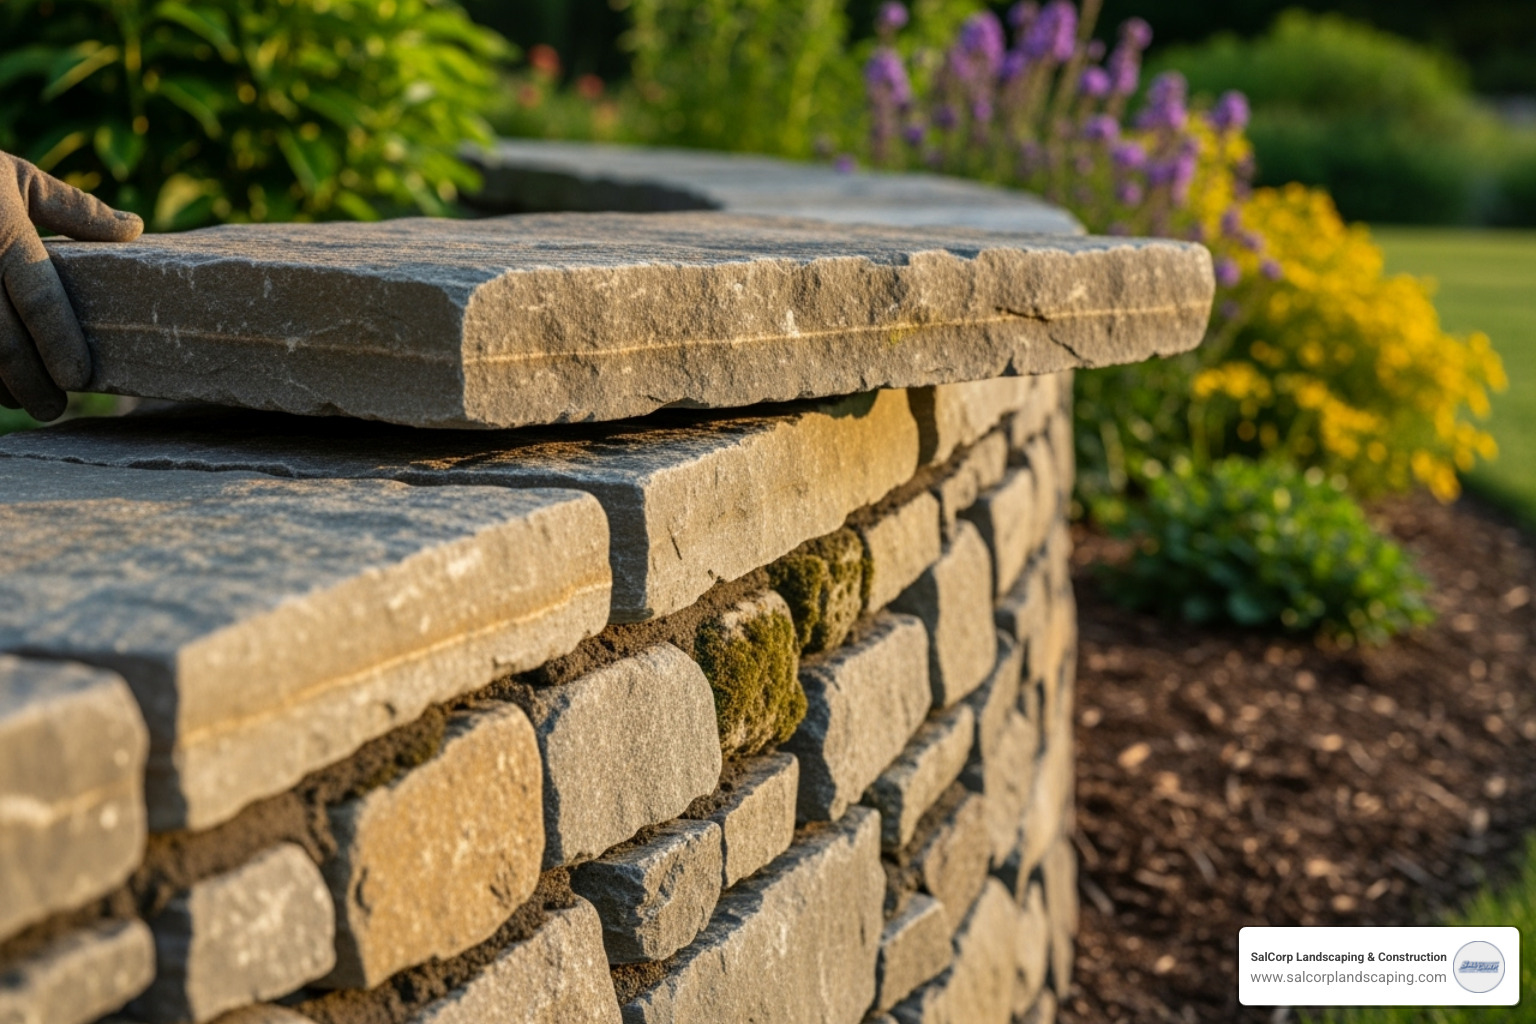
Capstones are the finishing touch. Select your best-looking, flattest stones for this top course and ensure they are perfectly level.
While not always necessary for dry-stack walls, securing capstones with masonry adhesive is a smart move, especially if the wall might be used for seating.
Create a 1 to 1.5-inch overhang on the front for a professional look and to create a “drip edge” that directs water away from the wall’s face.
Finally, fold the landscape fabric over the gravel backfill, add at least 6 inches of topsoil, and plant grass or flowers to integrate the wall into your landscape.
When to Call in the Professionals
While how to build a stone retaining wall can be a rewarding DIY project, some situations require a professional. A poorly built wall is a costly, dangerous liability. Knowing your limits is a smart decision.
Signs Your Project Needs an Expert
Contact a professional if your project involves any of the following:
- Wall height over 4 feet: Walls this tall handle massive soil pressure and typically require building permits and engineered plans.
- Steep slopes: These create complex forces that require expert analysis to manage safely.
- Poor soil conditions: Clay soil holds water and becomes heavy, while sandy soil can be unstable. Professionals know how to handle different soil types.
- Supporting critical loads: If the wall will support a driveway, patio, or foundation, professional engineering is non-negotiable.
- Complex drainage issues: Significant water runoff or high water tables require an expert-designed drainage solution.
- Tiered wall systems: Large or complex tiered walls need engineering to ensure the tiers support each other properly.
If any of these describe your project, contact professionals who specialize in hardscape installation.
The Role of a Structural Engineer and a Hardscape Contractor
For complex projects, you need two key players:
A structural engineer provides the critical calculations for safety and stability. They assess soil, design reinforcement systems, and ensure the plans meet local building codes. Their stamp of approval means your wall is designed to handle the forces acting on it.
An experienced hardscape contractor, like our team at SalCorp Landscaping & Construction, brings those plans to life. We have the specialized knowledge, heavy machinery, and skilled crews to execute complex projects with precision. With over 20 years serving Massachusetts, we’ve tackled everything from simple garden walls to complex engineered structures.
When you work with experienced hardscape contractors, you’re investing in expertise that ensures your wall is both beautiful and structurally sound.
Understanding Professional Costs
Professional installation is an investment, but rebuilding a failed wall costs far more. Several factors influence the final price:
- Wall size: Height and length are the primary cost drivers.
- Material choice: Prices vary between fieldstone and precisely cut stone.
- Site accessibility: Difficult access can increase labor costs.
- Design complexity: Curves, steps, and integrated features add to the cost.
- Engineering needs: Engineered plans are an additional but necessary cost for complex walls.
Based on national averages, professional stone retaining wall installation can range from $25 to over $150 per square foot of wall face. This wide range reflects differences in materials, complexity, and regional labor rates. Labor, excavation, and equipment often make up the majority of the total cost.
Please note: These are national average estimates from internet research and do not represent a quote from SalCorp Landscaping & Construction. Every project is unique, and costs in Massachusetts can vary based on your specific site, materials, and design. The best way to get an accurate price is to schedule a consultation.
Frequently Asked Questions about Building Stone Walls
How long does a stone retaining wall last?
A properly built dry-stack stone wall can last for decades, even centuries. Its longevity depends on a solid foundation, excellent drainage, and construction that allows it to flex with ground movement. In Massachusetts, we’ve seen well-built walls stand for 50-100 years, a testament to getting the fundamentals right. Natural stone ages beautifully, gaining character over time.
How do you choose the right stone for how to build a stone retaining wall?
The right stone is key to a stable, professional-looking wall. Select flat, angular stones over rounded ones, as they interlock better. Use your largest, heaviest stones for the base course to provide a solid foundation. Look for stones with a relatively consistent thickness to make stacking easier and the wall stronger. Sourcing local stone, like New England fieldstone, can match your landscape and reduce costs. You can find options at a retaining wall block supplier near you.
What is the most common mistake when building a retaining wall?
The single most common and critical mistake is improper drainage. We often see walls fail because the drainage system was skipped or poorly installed. These failures are completely preventable.
Water buildup creates immense hydrostatic pressure, the leading cause of wall failure. When water in the soil freezes, it expands with incredible force, which can destroy a wall. A system of gravel backfill, landscape fabric, and a perforated drain pipe is not optional—it’s essential for a long-lasting wall. When someone asks how to build a stone retaining wall that lasts, the answer always starts with drainage.
Conclusion
Building a stone retaining wall is a challenging but satisfying project that adds lasting beauty and function to your property. Creating something that could stand for centuries provides a real sense of accomplishment.
We’ve emphasized the three pillars of a successful wall: a solid foundation, excellent drainage, and proper stone-setting techniques. These are the difference between a wall that lasts and one that fails. For smaller garden walls under 3 feet, this can be a rewarding DIY project if you follow the steps carefully and never cut corners on the unseen elements like the foundation and drainage.
However, it’s crucial to know when a project crosses into professional territory. Walls over 4 feet, steep slopes, or projects supporting heavy loads require the expertise and equipment of a professional for safety and compliance.
With over 20 years in the business, I know every retaining wall project is unique. Our team at SalCorp Landscaping & Construction has the knowledge and experience to handle any hardscaping challenge in Massachusetts, from simple garden walls to complex engineered structures.
If you’re ready to transform your sloped yard, contact our retaining wall contractors for a consultation on your project. We’d love to help you build something that will be enjoyed for generations.